Wednesday 29 June 2011

Vollkornbrot with Flaxseeds

I admit it, I really only wanted to make this bread because it’s baked in a Pullman pan. Vollkornbrot is a 100% rye bread which is a feat in and of itself because without the addition of wheat flour for body, rye usually makes a flat, crumbly, and coarse-grained loaf. I didn’t anticipate liking it. However, I really enjoy using my Pullman pan so I decided this was as good of an excuse as any to make the bread. I have a friend who usually enjoys rye breads so I figured I could give it to him if I didn’t like it.

This is one of the June breads for the Mellow Bakers.  We had the choice of making Vollkornbrot with a rye-chops soaker and sourdough or with a rye-chops soaker and a flaxseeds soaker.  I chose the formula that used both soakers in addition to the sourdough.

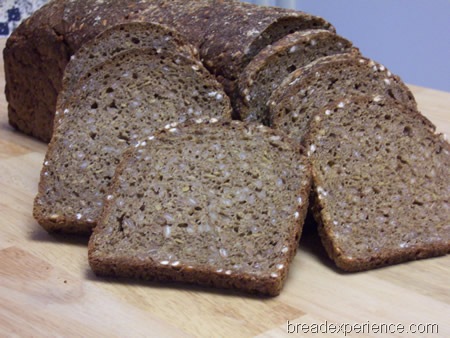
vollkornbrot-with-flaxseeds 020


Volkornbrot with Flaxseeds

Makes: 1 Pullman loaf

This bread is from Bread: A Baker’s Book of Techniques and Recipes by Jeffrey Hamelman. You can find the formula for Vollkornbrot with the sourdough and rye-chops soaker here.


Method:

The sourdough is made with some rye meal and 2 tablespoons of a mature culture. Then you let it ripen on the counter for 14 to 16 hours.  I think I let mine ripen for 17 hours.  I just couldn’t seem to follow the instructions on this one.

vollkornbrot-with-flaxseeds 001


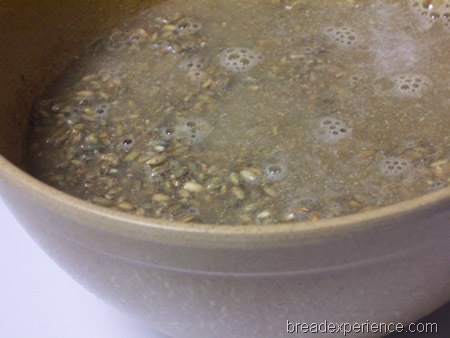
I couldn’t find any rye chops so I tried chopping some rye berries, but ended up with a little bit of rye meal, some rye chops and some whole rye berries in the soaker. I decided just to go with it.  Hey, you only live once, right? I figured I wasn’t going to like it anyway so it didn’t matter.

vollkornbrot-with-flaxseeds 003

vollkornbrot-with-flaxseeds 006


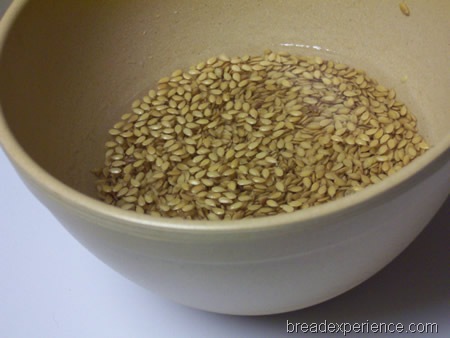
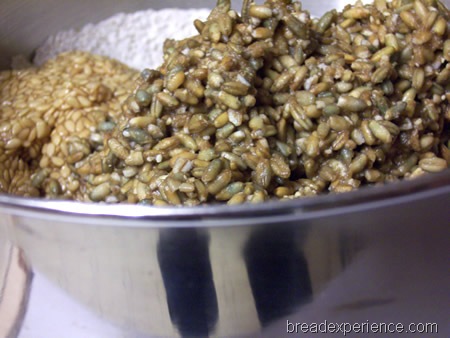
Next, you prepare the flaxseed soaker. You only let the flaxseeds soak for a little while in cold water so I wondered how that was going to turn out. 

vollkornbrot-with-flaxseeds 004


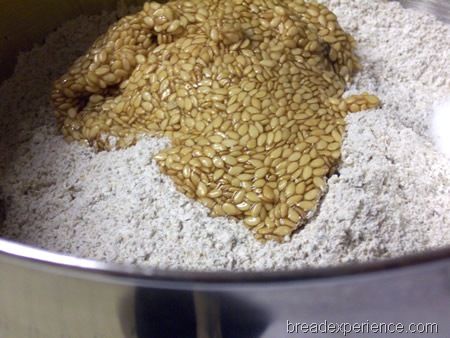
The flax seeds soaked up the water and became sticky, almost like gelatin.  It was really cool!

vollkornbrot-with-flaxseeds 005


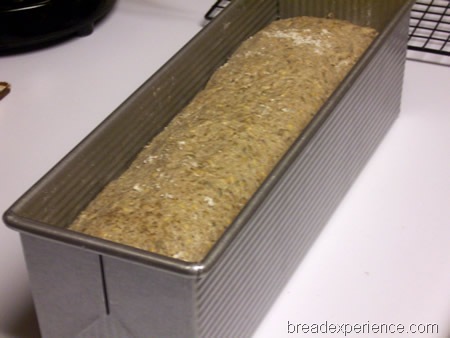
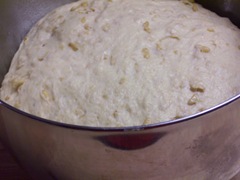
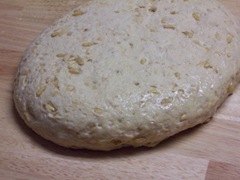
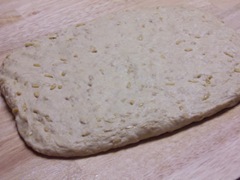
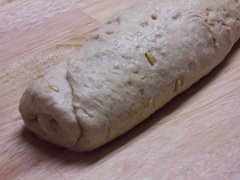
After you mix all of the ingredients, the final dough only has to proof for 10 to 20  minutes before you roll (or pat it) into a log and place it in the pan.

vollkornbrot-with-flaxseeds 010


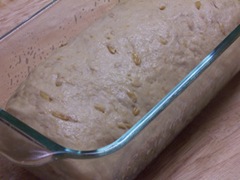
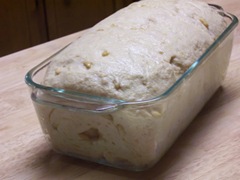
The final fermentation takes about 50 to 60 minutes.  Then you bake it for 1 1/4 hours. That’s a long time but the bread needs it due to the high-water retention properties of this type of bread.

vollkornbrot-with-flaxseeds 012


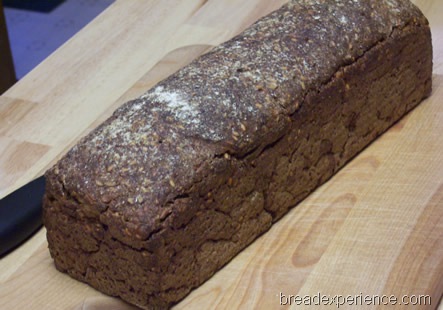
After the bread cools, you’re supposed to wrap it in baker’s linen and let it stand for a least 24 to 48 hours before slicing.  I was a good girl and I let it sit for 48 hours.

vollkornbrot-with-flaxseeds 021


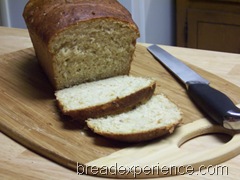
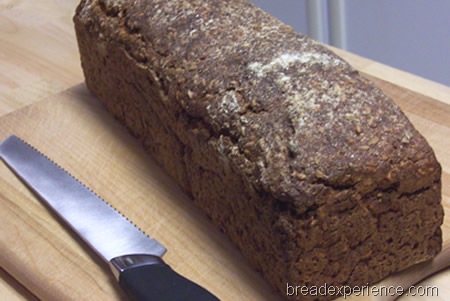
Then we sliced it, toasted it and ate it.  Guess what, my taste tester and I liked it!  This is a very hardy bread, but it has a great flavor.  It’s definitely not dry. I think you could make a meal out of it if you were so inclined.  It makes a good accompaniment to smoked fish, cured meats, aged cheeses, preserves, but we enjoyed it plain with butter.

vollkornbrot-with-flaxseeds 029


I’m so glad I decided to try this bread. It’s really good and I had fun making it. It’s a big loaf so I froze some of it and I plan to give some to my friend who likes rye breads.  I think he’ll enjoy it.


Thanks for visiting the Bread Experience bread-baking blog.  I hope you’ll join me again soon.

Happy Baking!
Cathy


Mellow Bakers was started by Paul at Yumarama. We’re baking breads from Bread: A Baker’s Book of Techniques and Recipes by Jeffrey Hamelman.
Saturday 25 June 2011

Sprouted KAMUT Bread

The grain of the month for June is KAMUT®. KAMUT® is the name of the brand and not the wheat. The wheat is “khorasan” wheat.

To assure the quality of the organic, heirloom grain, khorasan, the wheat was trademarked KAMUT®. The word “kamut” comes from the ancient Egyptian word for “wheat.”  Isn’t that cool!

Khorasan is related to Durum. Both grains descended from Emmer. Khorasan is high in protein, with a sweet aroma and a chewy texture. The kernels are amber in color and almost translucent. 

sprouted-kamut-bread 053


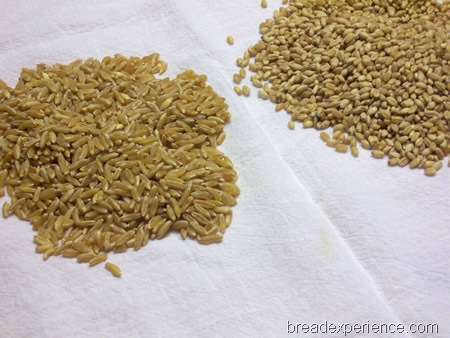
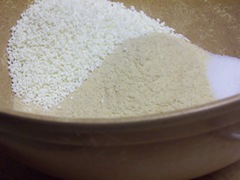
I got some KAMUT® grains from the farmers market and ground them into flour.  As you can see from the photo below, KAMUT® grains (on the left) are much bigger (about 2 to 3 times) than white winter wheat berries (on the right).


sprouted-kamut-bread 006


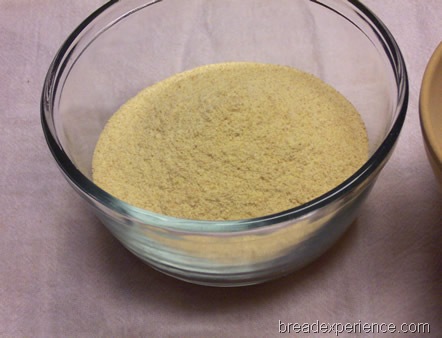
KAMUT® Brand khorasan flour is beautiful and creamy-looking.  It reminds me of semolina, but it’s not as coarse or grainy.


sprouted-kamut-bread 011


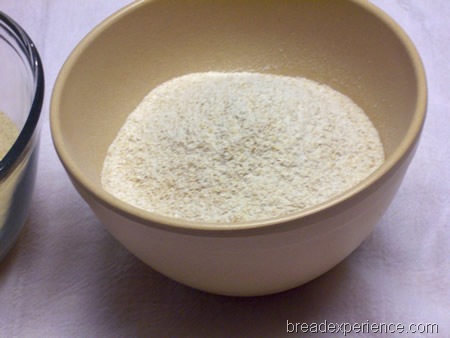
This is what the white winter wheat looks like ground into flour.

sprouted-kamut-bread 012


Sprouted KAMUT Bread Recipe

Adapted from The Pleasure of Whole-Grain Breads by Beth Hensperger

Makes: 1 loaf

The notes in the book suggest using 7/8 cup of KAMUT® Brand khorasan flour to 1 cup of whole wheat flour in breads.  For this particular recipe, I substituted 1/2 cup of KAMUT® flour for 1/2 cup of whole wheat and an additional 1 cup of KAMUT® flour for 1 cup of bread flour for a total of 1 1/2 cups of KAMUT® flour.

Ingredients:

  • 1/4 cup warm water
  • 3/4 tablespoons active dry yeast
  • Pinch of sugar
  • Pinch of ginger
  • 1 1/2 cups KAMUT® Brand khorasan flour
  • 1/2 cup nonfat dry milk powder
  • 1/2 tablespoon salt
  • 3/4 cup warm water
  • 1/8 cup honey
  • 2 tablespoons unsalted butter, at room temperature
  • 1 cup sprouted KAMUT® berries, chopped
  • 1 1/2 cups bread flour
  • Wheat germ, for sprinkling (optional)
  • Melted butter, for brushing


Directions:

Step 1: Sprouting the KAMUT® Berries

Duration: 2 to 3 days

Makes: 1 cup

1/4 cup raw KAMUT® berries

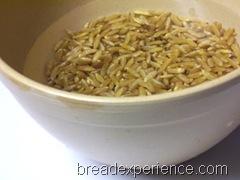
Place the KAMUT® berries in a bowl and add tepid water to cover by 1 inch.  Let stand at room temperature for 6 to 8 hours.


sprouted-kamut-bread 001


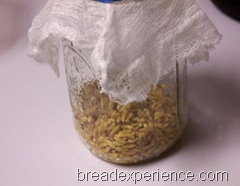
Drain the KAMUT® berries and rinse with fresh water.  Place in a 1-quart jar.  Cover with cheesecloth and secure with a rubber band. 

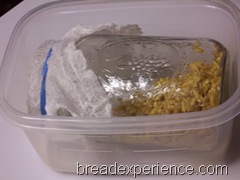
Place the jar on its side in a warm, dark place. Twice a day, rinse and drain the berries with tepid water poured through the cheesecloth. 


sprouted-kamut-bread 003 sprouted-kamut-bread 004


After 2 to 3 days, the berries will sprout.  Refrigerate in a plastic bag for up to 3 days. Since it summer, I only had to sprout the berries for about a day, then I dried them on a towel and refrigerated them for a couple of days until I was ready to bake the bread.

When you’re ready to bake the bread, grind the berries in a food processor or blender. Be careful not to over process; the berries should be chunky.


Step 2: Making the Bread

Pour 1/2 cup warm water into a small bowl.  Sprinkle the yeast, sugar, and ginger over the water. Stir to dissolve and let stand until foamy, about 10 minutes.

In a large bowl using a whisk or in the bowl of your mixer, combine the KAMUT® flour, milk powder, and salt.

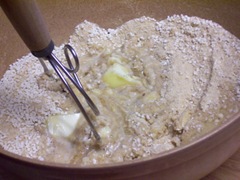
Add the warm water, honey, and 4 tablespoons butter. Mix or beat for 1 minute.

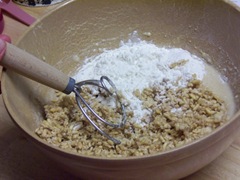
Add the yeast mixture and beat 1 minute longer. Add all the KAMUT® berries and the bread flour, 1/2 cup a a time, beating on low speed until a soft dough that just clears the sides of the bowl forms, switching to a wooden spoon when necessary if making by hand.  I mixed the dough by hand using a Danish dough whisk.

sprouted-kamut-bread 019 sprouted-kamut-bread 018
sprouted-kamut-bread 022 sprouted-kamut-bread 024

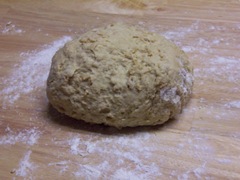
Turn the dough out onto a lightly floured work surface and knead until soft and spongy, 1 to 2 minutes for a machine mixed dough and 3 to 4 minutes for a hand-mixed dough, dusting with flour only 1 tablespoon at a time, just enough as needed to prevent sticking.

Place in a lightly greased deep container, turn once to coat the top with oil, and cover with plastic wrap. Let rise at room temperature until double in bulk, 1 1/2 to 2 hours.

sprouted-kamut-bread 026 sprouted-kamut-bread 031


Grease a 8-by-4-inch loaf pan and sprinkle the bottom and sides with wheat germ.  Turn the dough out onto the work surface and shape it into a loaf.

Flatten each piece out on the counter and pat each portion into a rectangle and roll- into a loaf shape.

Press the seam closed with your fingers and place, seam side down, into the prepared pan.

sprouted-kamut-bread 032 sprouted-kamut-bread 033
sprouted-kamut-bread 034 sprouted-kamut-bread 035
sprouted-kamut-bread 036  

Cover loosely with plastic wrap and let rise until level with the rims of the pans, about 1 hour.

About 20 minutes before baking, preheat the oven to 350 degrees F. and position a rack in the center of the oven. Bake for 45 to 50 minutes, or until crusty and golden. Remove the loaf from the pan to cool on a rack and brush the top with melted butter. 

Let the loaf cool, then slice and enjoy. 

sprouted-kamut-bread 044 sprouted-kamut-bread 059


I like this bread, it is a little bit chewy and it taste great toasted with butter and/or spread with jam.  However, I couldn’t quite distinguish the KAMUT® flavor.  It just tasted like wheat to me (which is not a bad thing because I happen to like wheat).

This bread has been YeastSpotted. Please visit Wild Yeast to view all of the lovely breads in the roundup.


Happy Baking!

Cathy

Wednesday 22 June 2011

Mango Raspberry Jam

I tasted a mango for the first time a few weeks ago at the BlogHerFood11 Conference. The National Mango Board was one of the vendors at the conference and they had samples of different types of mangos.

According to the National Mango Board, mangos are one of the worlds most popular fruits. I’m not sure why it took me so long to acquire a taste for mangos, but now that I have, there’s no stopping me. I got a bunch of mangos at the market, and I’ve been having fun eating them and using them in different dishes. 

I didn’t get the chance to go strawberry picking this season due to my crazy schedule and an injured arm so I won’t be making homemade strawberry jam this year. However, instead of being bummed out, I decided to try some different types of jams.  I started with a spicy Mango Habañero Jam. I still had a few mangos left so to balance things out, I made this sweet Mango Raspberry Jam.

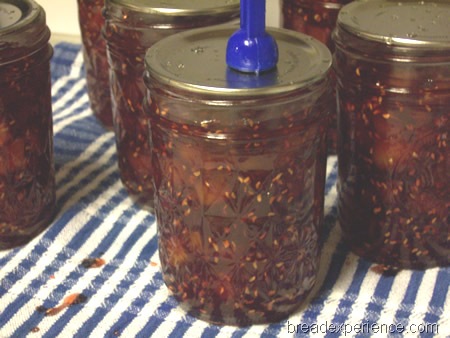
mango-raspberry-jam 025


Mango Raspberry Jam Recipe

Recipe from the Ball Complete Book of Home Preserving

Yield: About Seven 8oz (250 mL) Jars

Ingredients:

  • 3 cups (750 mL) finely chopped pitted peeled mangos
  • 1 1/2 cups (375 mL) crushed red raspberries
  • 2 tablespoons (30 mL) lemon juice
  • 1 package (1.75 oz/49 to 57 g) regular powdered fruit pectin
  • 5 1/2 cups (1.375 L) granulated sugar


Directions:

  1. Refer to the National Mango Board’s web site for instructions/video on the best ways to cut a mango.
  2. Prepare canner, jars and lids.  For more information, visit the National Center for Home Preservation web site.
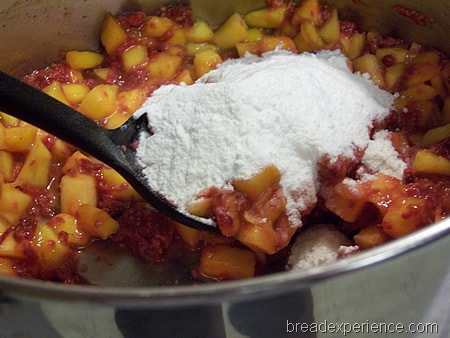
  3. In a large pot, combine the chopped mangos, crushed raspberries and lemon juice. 

    mango-raspberry-jam 006

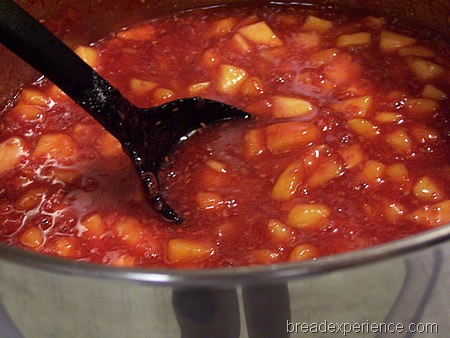
    Whisk in pectin until dissolved.  Bring to a boil over high heat, stirring frequently. 

    mango-raspberry-jam 007

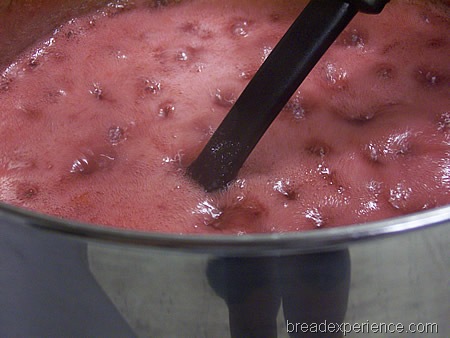
    Add sugar all at once and return to a full rolling boil, stirring constantly. 

    mango-raspberry-jam 009

    Boil hard, stirring constantly, for 1 minute. 

    mango-raspberry-jam 010


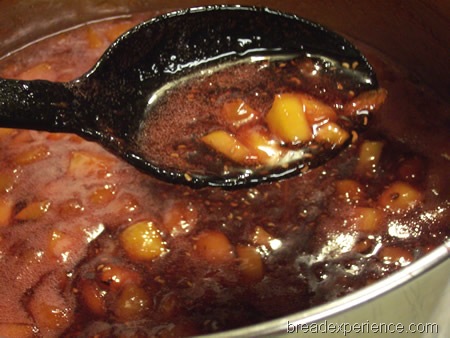
    Remove from heat and skim off foam.

    mango-raspberry-jam 011

  4. Ladle hot jam into hot jars, leaving 1/4-inch (0.3 cm) headspace. Remove air bubbles and adjust headspace, if necessary, by adding hot jam. Wipe rims, center the lids on the jars and screw each band down until resistance is met, then increase to fingertip-tight.

    mango-raspberry-jam 012

    Note: Don’t adjust or tighten the lids after processing because this could affect the seal.

  5. Place the jars in the canner, making sure they are completely submerged in water (about 1-inch above the tops of the jars). Bring to a boil and process for 10 minutes.

    mango-raspberry-jam 013

    Refer to the National Center for Home Preservation web site for more info and if you live in a high altitude.  Remove the canner lid and let the jars rest in the canner for 5 minutes.

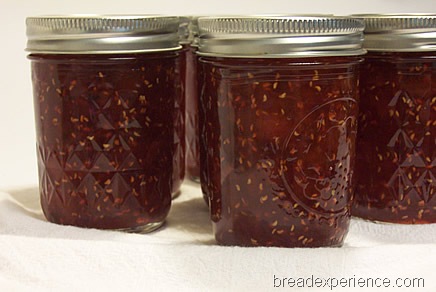
  6. Remove the jars from the canner and place on the counter to cool. Let them rest overnight, then move to a cool, dry place for storage.

    mango-raspberry-jam 029


Happy Canning and Baking!

Cathy


Here are some of the references I use in my canning adventures.

Sunday 19 June 2011

Semolina Sourdough

I really enjoy breads made with Semolina flour…probably because of the creamy color and nutty flavor it gives breads and pizzas. 

Bread: A Baker’s Book of Techniques and Recipes by Jeffrey Hamelman has formulas for four different kinds of Semolina breads. The first one I made utilized a yeasted pre-ferment. I adapted the recipe and made it similar to Pane Siciliano, one of my favorite Semolina Breads.

This version is made with a sourdough starter (liquid levain) which gives it a little bit of a tangy flavor.  It’s made with about 40% bread flour and 60% durum flour.  Instead of shaping the bread into round or oblong loaves, I shaped it into an S-shape similar to the Pane Siciliano. I added white sesame seeds to the dough and sprinkled black sesame seeds on the outside because I ran out of white sesame seeds.

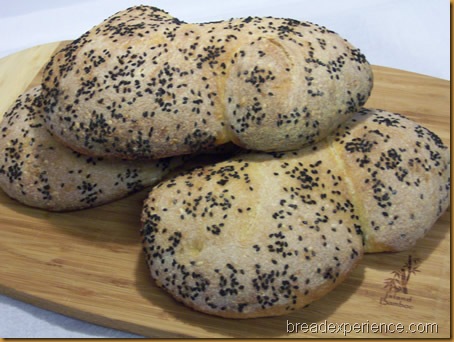
semolina-bread-with-poolish 019


We enjoyed this bread toasted with butter and spread with jam. It has a delicious crunch due to the sesame seeds in the dough and on the crust.

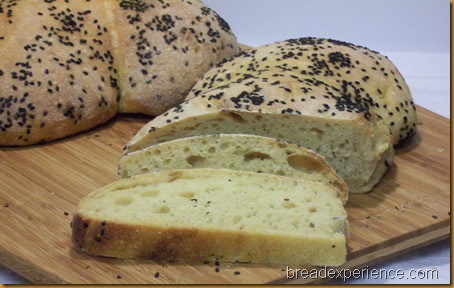
semolina-bread-with-poolish 032


This is another bread from Bread: A Baker’s Book of Techniques and Recipes by Jeffrey Hamelman. You can find the recipe here.


Mellow Bakers was started by Paul at Yumarama.
We’re baking breads from Bread: A Baker’s Book of Techniques and Recipes by Jeffrey Hamelman.


Thanks for visiting the Bread Experience bread-baking blog.  I hope you’ll join me again soon.

Happy Baking!
Cathy

Tuesday 14 June 2011

Pain Rustique with Red pepper Spread

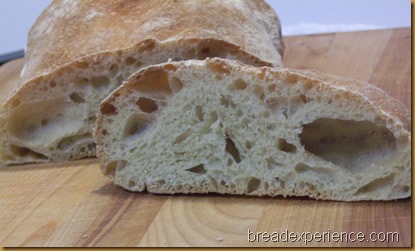
Pain Rustique is one of the breads we made this month for the Mellow Bakers. Pain Rustique, as the name suggests, is a rustic loaf of bread.  It is made with an overnight poolish and shaped freeform in a fashion similar to Ciabatta.  Like Ciabatta, the dough is a rather wet dough that you fold during the bulk fermentation to give it more workability.  It is a great dough to work with and the flavor is exceptional.

I used a mixture of about 40% bread flour to 60% all-purpose flour for the dough because I ran out of bread flour.  The all-purpose flour was a mixture of whole wheat and white wheat flours so this really is a rustic bread.

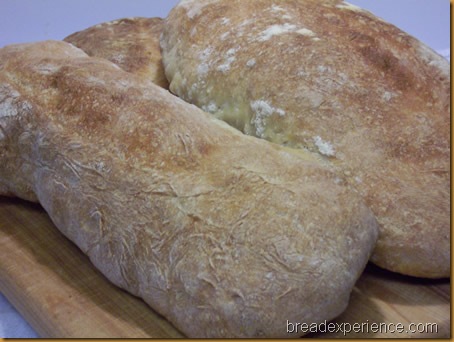
pain-rustique 029


I really liked this bread and so did my boyfriend.  The only problem was the formula made three loaves and I couldn’t eat it fast enough.  I freeze a lot of bread and usually give a loaf away when someone comes over, but I wasn’t sure if this bread would freeze well. So I gave a loaf to my youngest son. He’s in summer school (in college) and missing home cooking so he gladly accepted the gift of the loaf along with some olive oil and herbs for dipping.  I also gave a loaf to my boyfriend, but I still had a huge loaf to contend with. Not that I was complaining mind you.

pain-rustique 038 

It’s really hot (and humid) in Atlanta these days so anything you leave on the counter for more than a day will mold.  I didn’t want that to happen to this bread because it’s really good.  So, I put it in the refrigerator.  Well, you know what happens to bread when you put it in the refrigerator? That’s right! It gets hard.


Not to worry…I had a plan. 


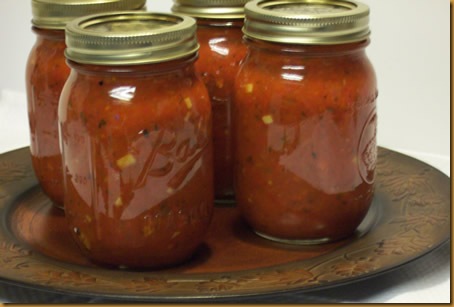
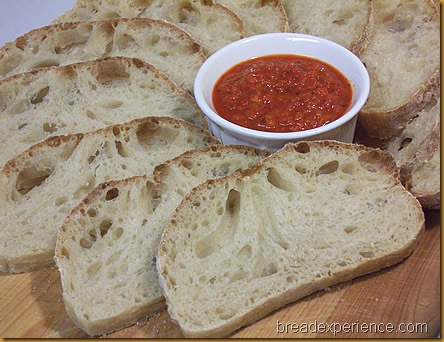
I decided to toast it and make brushetta with it. However, instead of rubbing it with garlic and dribbling it with olive oil, I used some Red Pepper Spread that I had canned last Fall for the tigress can jam challenge.  It’s a very flavorful spread and I thought it would go well with this bread.


Turns out I was right.  I had a couple of pieces for lunch today. Even though the bread had been in the refrigerator for a few days, it tasted great toasted and spread with the red pepper spread.  It was really good.  The bread didn’t taste stale at all. The red pepper spread provided a wonderful sweet and garlicky flavor.

pain-rustique 053


This bread doesn’t need extra flavor.  It’s great by itself – toasted or plain. However, if you find yourself with a loaf of French or Italian bread that is about to go stale, you can always do what I did and make Brushetta with it.

 pain-rustique1


This bread is from Bread: A Baker’s Book of Techniques and Recipes by Jeffrey Hamelman.  You can find an adapted version of the formula here.


Thanks for visiting the Bread Experience bread-baking blog.  I hope you’ll join me again soon.

Happy Baking!
Cathy


Mellow Bakers was started by Paul at Yumarama.
We’re baking breads from Bread: A Baker’s Book of Techniques and Recipes by Jeffrey Hamelman.
Sunday 12 June 2011

Mango Habañero Jam

Last summer I participated in Steph Chows’ 2nd Annual Jam Exchange.  My jam exchange partner was Beth from The Seventh Level of Boredom.  When we were determining what jams to send each other, she asked me if I liked hot stuff (as in peppers) and I told her not usually, but my sons and my boyfriend would probably like it.

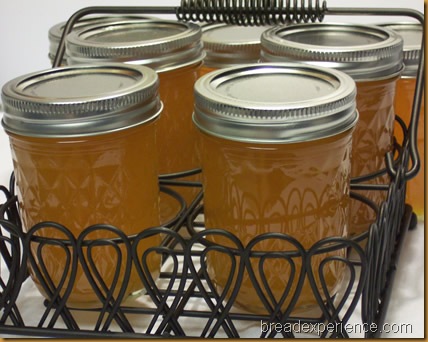
One of the jams Beth sent me was Mango Habañero Jam.  I loved it!  I practically ate all of the jam myself.  I would spread cream cheese on a cracker and drizzle the jam over the top. It did have a little bit of a kick but it wasn’t too hot. It tasted so good, I got addicted to it. Then, it was all gone…

So, when I saw Mangos in the market the other day, I decided it was time to make some of this jam for myself.  It makes 7-8 jars so I have plenty to share.  Everyone I’ve mentioned it to so far has wanted to try it so I don’t think I’ll have any problems finding taste testers. What I may have trouble doing is keeping some for myself. ;)

mango-habanero-jam 019


Mango Habañero Jam

Makes: 7-8 Half-Pint Jars

Adapted from this recipe http://theseventhlevelofboredom.blogspot.com/2010/08/mango-habanero-jam.html 

Original recipe found here
http://28cooks.blogspot.com/2009/10/mango-habanero-jam-this-is-probably-one.html


Ingredients:

  • 6-8 whole Habañeros (I removed the stems and most of the seeds)
  • 1 cup cider vinegar
  • 2 fresh mangos, peeled and chopped
  • 1/2 cup Papaya nectar
  • 1/2 cup fresh orange juice
  • 6 cups sugar
  • 1 packet liquid pectin


Directions:

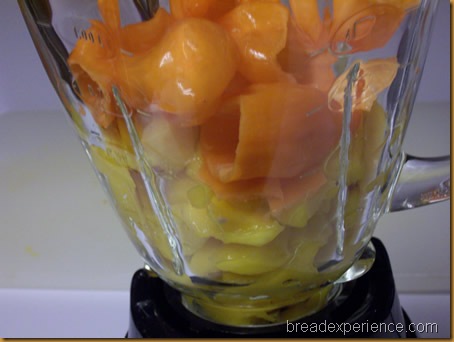
Blend all Habañeros with vinegar, mango, and juices until well pureed. 

mango-habanero-jam 002

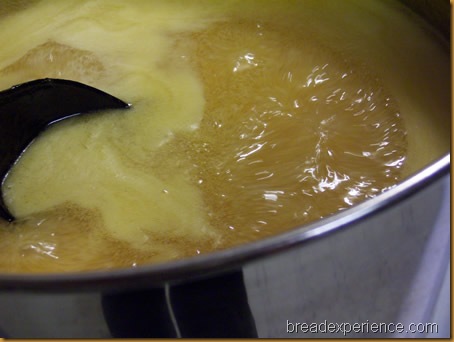
Bring mixture and sugar to a full rolling boil in a heavy pot.  Boil 8 minutes. 

mango-habanero-jam 005

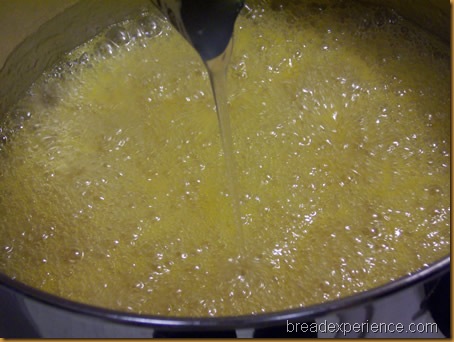
Add liquid pectin and bring to boil again for 1 minute. 

mango-habanero-jam 007

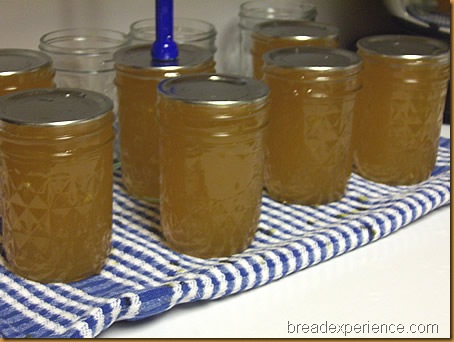
Pour into 1/2-pint jars and seal.

mango-habanero-jam 009

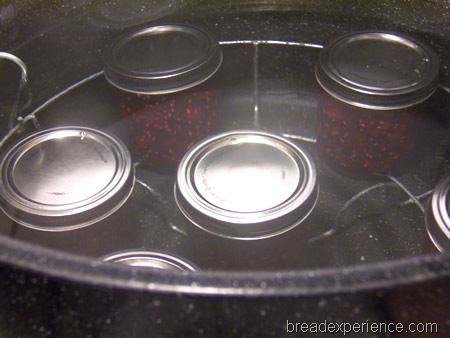
Process the jars in a water-bath canner for 10 minutes.  Refer to the instructions at the National Center for Home Preservation.  Turn off heat, remove canner lid, and let jars rest in the water for 5 minutes.
mango-habanero-jam 011

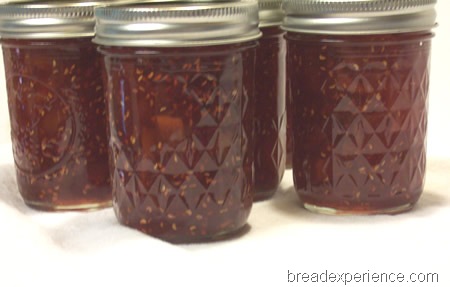
Remove jars and set aside for 24 hours.  Check seals, then store in a cool, dark place for up to 1 year.


mango-habanero-jam 018


Happy Canning and Baking!

Cathy


Here are some of the references I use in my canning adventures.