Monday 29 November 2010

Brioche: Mellow Bakers

I waited until the last minute to make this brioche, but let me tell you, it was worth the wait.  I only had time to make two of the breads for the Mellow Bakers this month. I’m so glad I opted to make this one. It is the best brioche I’ve ever tasted.

Brioche is a very rich delicacy.  It’s not quite bread and not quite pastry, but it is all delicious!  It is made with a lot butter and eggs and is very versatile.  It can be shaped into the traditional tête and grande tête shapes; it can be fashioned into loaves or freestanding braids; it can be used as the base for a variety of coffee cakes; and it makes wonderful French toast.

brioche 021

I’ve made Rich Man’s Brioche and Poor Man’s Brioche from the Bread Bakers’ Apprentice book.  This version would be considered the Middle Class Brioche.  Guess that’s why I like it so much!

Brioche

Source: Bread: A Baker’s Book of Techniques and Recipes by Jeffrey Hamelman.

Ingredients:

  • Bread Flour 4 1/4 cups
  • High-gluten Flour 1 1/4 cups
  • Water, cold 1/4 cup
  • Eggs, cold 6
  • Salt 1 Tablespoons
  • Sugar 6 Tablespoons
  • Yeast 1 1/2 Tablespoons
  • Butter, cold 1 1/2 cups (3 sticks)


Directions:

Day 1:

Make sure everything is cold.  I thought this was a rather interesting step, but I mixed all the dry ingredients together (except the yeast) and put it in the refrigerator anyway.  I only meant to keep it there for a few hours, but it took a couple of days before I actually got around to making the dough.  I keep my yeast in the refrigerator anyway so I didn’t need to cool it off.

Mixing the Dough:

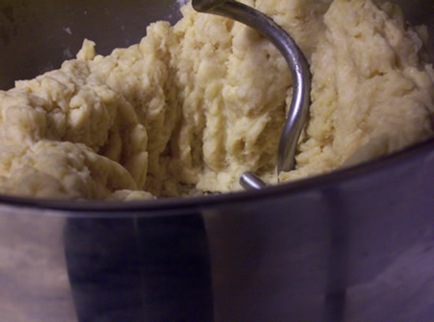
Mix all of the ingredients except the cold butter in a mixer until the ingredients are incorporated.  Mix the dough until it is strong and tough.  This usually takes 5 to 7  minutes in a spiral mixer.  My mixer had a hard time with this so I had to use my hands to make sure everything was incorporated.

brioche 001

In the meantime, take the cold butter and beat it with a rolling pin until it is pliable.  This part is a little bit tricky so it’s best to do this between sheets of plastic or wax paper.  I used wax paper and the butter kept wanting to slide out from under the paper. I didn’t take a photo of this process because I was having too much fun and forgot. 

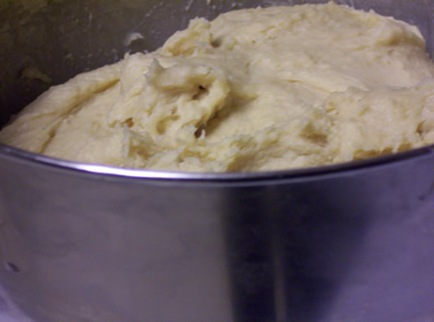
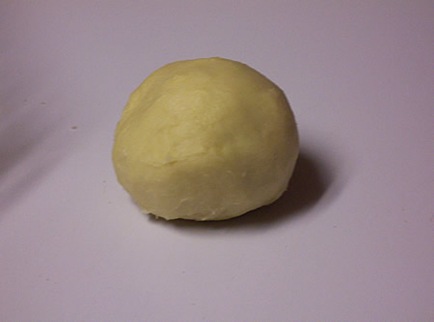
Once the butter is pliable and the dough is strong, start adding the butter a little bit at a time until it is completely incorporated into the dough and the dough is smooth and satiny.  This will take awhile, probably about 8 to 10 minutes.  All that butter was giving my mixer fits so I finished mixing this part by hand as well. It was fun squishing the butter between my fingers.  You ought to try it sometime!

brioche 002

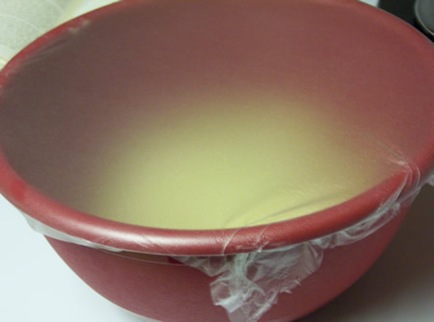
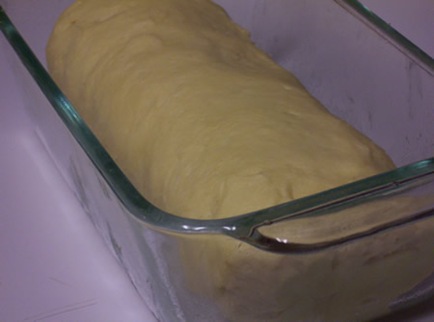
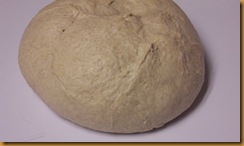
When the butter has been incorporated into the dough, put it into a lightly floured bucket or bowl, cover and let it rest at room temperature for an hour.

brioche 004

Chill the Dough Overnight:

After an hour, fold the yummy dough, put it back in the container and refrigerate overnight.  Degas the dough 2 or 3 times over the next several hours.  If you remember that is.  I put mine in the refrigerator overnight so I forgot this part. However, I did degas it when I took it out of the refrigerator to shape it.

Day 3:

Shaping the Loaves:

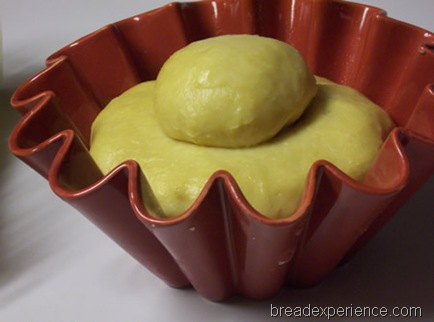
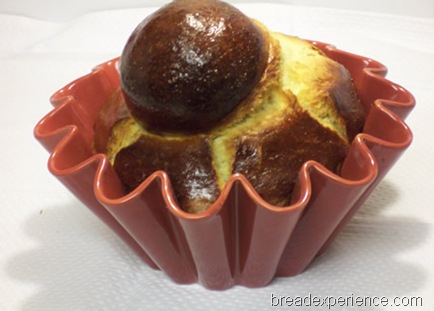
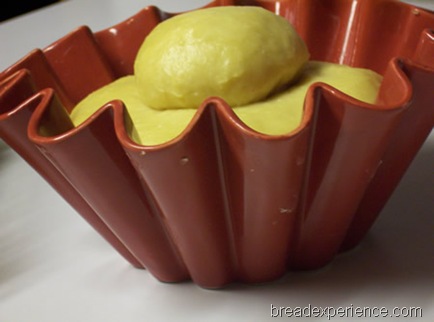
I used about 14 ounces and shaped one loaf into a round ball and placed it in my brioche pan.  Then I made the topknot.  I filled the mold to about 50 percent capacity so that it would have room to rise a bit. 

brioche 010

I took some more dough and shaped it into a loaf, then placed it in a glass loaf pan.

brioche 008

I had just enough dough left for this cute little bun.

brioche 009

Proofing the dough:

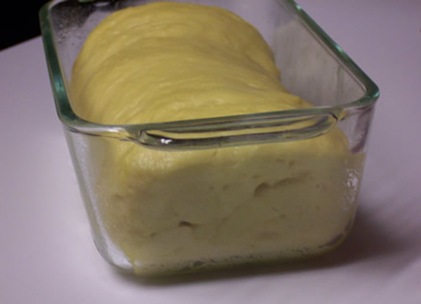
When the dough is fully proofed, it is suppose to fill the mold or pan to 85 percent.  This dough was so cold, it took a while to warm up to room temperature.

brioche 013

But it finally did reach about 85 percent capacity. Well, that’s my story and I’m sticking to it.

brioche 014

Baking the Loaves:

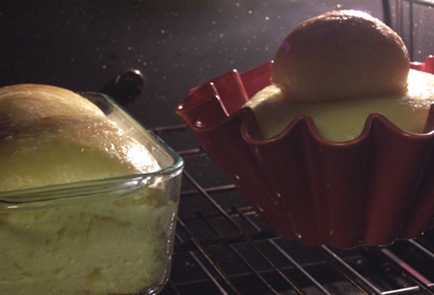
Once the loaves are proofed, brush them with an egg wash and bake at 350 degrees.  It took a while to bake the loaves.  I had to tent them with aluminum foil partway through because they were starting to burn on top but the inside of the loaves were still gooey.

brioche 015

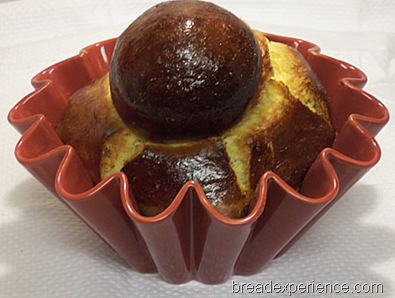
The finished loaves should have a rich and deeply golden crust and a wonderful aroma.  Both of the loaves cracked a bit when they were baked and the topknot ended up sort of lopsided on this one, but they’re so good, it doesn’t really matter. 

brioche 027

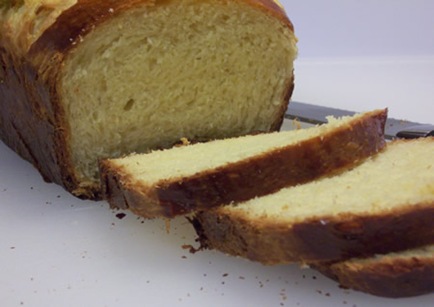
My boyfriend and I (and his dog) enjoyed eating the bun.  Boy was it good!  Melt in your mouth kind of goodness.  So, of course we had to slice one of the loaves and have another piece.  It smelled and tasted heavenly!

brioche 047

This bread has been YeastSpotted. Please visit Wild Yeast to view all of the lovely breads in the roundup.


Mellow Bakers was started by Paul at Yumarama.
We’re baking breads from Bread: A Baker’s Book of Techniques and Recipes by Jeffrey Hamelman.


Thanks for joining us in the Bread Experience bread-baking blog.  We hope you’ll join us again soon.

Happy Baking!
Cathy
Saturday 27 November 2010

Peanut Butter Banana Bread

I’ve been waiting for just the right time to make this Peanut Butter Banana Bread. I saw it on the cover of Cooking Light a couple of months ago, but wanted to make sure one of my sons was around to eat it instead of me. I get in trouble if I keep sweet breads (well, sweet anything) around when my sons aren’t home. 

In the meantime, my mom saw the bread on the magazine at the newsstand and decided she wanted some.  She said “don’t you get that magazine?”  Yep, now you know where I got my sweet tooth. I come by it naturally.

That settled it, I would make the bread and bring it to Thanksgiving Dinner. That way, I could taste it, but not be tempted to eat the whole thing. 

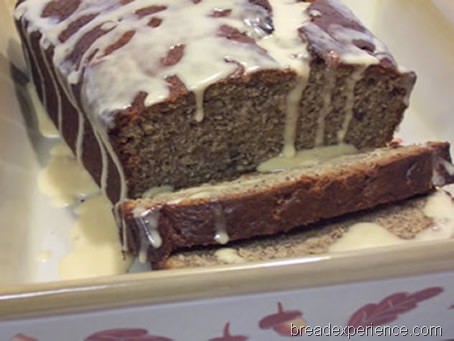
I mean, this is a winning combination. What’s not to love?  Peanut butter and bananas were made for each other.  The peanut butter and the fat-free yogurt make this a very moist banana bread and the addition of chopped dry-roasted peanuts provides a hint of nutty flavor.  The glaze also has peanut butter in it. 

This bread tastes really good warm.  Everyone gave it a thumbs up!

peanut-butter-banana-bread2


Peanut Butter Banana Bread

Recipe from October 2010 Cooking Light Magazine

Ingredients


Bread:
1 1/2  cups  mashed ripe banana
1/3  cup  plain fat-free yogurt
1/3  cup  creamy peanut butter
3  tablespoons  butter, melted
2  large eggs
1/2  cup  granulated sugar
1/2  cup  packed brown sugar
6.75  ounces  all-purpose flour (about 1 1/2 cups)
1/4  cup  ground flaxseed
3/4  teaspoon  baking soda
1/2  teaspoon  salt
1/2  teaspoon  ground cinnamon
1/8  teaspoon  ground allspice
2  tablespoons  chopped dry-roasted peanuts
Cooking spray

Glaze:
1/3  cup  powdered sugar
1  tablespoon  1% low-fat milk
1  tablespoon  creamy peanut butter


Directions:

Preheat oven to 350°.

To prepare bread, combine first 5 ingredients in a large bowl; beat with a mixer at medium speed. Add granulated and brown sugars; beat until blended.

Weigh or lightly spoon flour into dry measuring cups; level with a knife. Combine flour and next 5 ingredients (through allspice) in a small bowl. Add flour mixture to banana mixture; beat just until blended. Stir in nuts. Pour batter into a 9 x 5-inch loaf pan coated with cooking spray. Bake at 350° for 1 hour and 5 minutes or until a wooden pick inserted in center comes out clean. Remove from oven; cool 10 minutes in pan on a wire rack. Remove bread from pan; cool.

To prepare glaze, combine powdered sugar, milk, and 1 tablespoon peanut butter in a small bowl, stirring with a whisk. Drizzle glaze over bread.


Nutritional Information

Calories: 198
Fat: 7.4g (sat 2.3g,mono 2.7g,poly 1.8g)
Protein: 4.7g
Carbohydrate:  29.7g
Fiber: 1.9g
Cholesterol: 28mg
Iron: 1.1mg
Sodium: 200mg
Calcium: 27mg

Thursday 25 November 2010

Cranberry Biscuits for Thanksgiving

Today is Thanksgiving.  I love this Holiday … with all of the delicious food, family, and memories. I’m particularly thankful this year for my freedom and the blessings of family and friends. I didn’t host the family dinner this year and I’m also thankful for that. I needed a break. Instead, we went to my mom’s house. All I had to do was bake some rolls and bring a couple of other items so I decided to do something different. I saw these festive Cranberry Biscuits a couple of months ago and have been waiting for the opportunity to make them.  This was it!

These biscuits have the texture of potato rolls and the flavor of orange-cranberry bread. The neatest thing about them is that the dough can be made in the bread machine. Once the bread machine is finished its dough cycle, just roll out the dough, cut it with a biscuit cutter, let the biscuits rise, then bake them. That made things really easy. In fact, I baked them yesterday so all I had to do when I got to my mom’s house today was heat them up.

cranberry-orange-biscuits 025 


Cranberry Biscuits

Recipe from Taste of Home 2010 Fall Baking Cookbook

Yield: About 1-1/2 dozen Biscuits

Ingredients:
1-2/3 cups warm milk (70 to 80 degrees)
2 eggs
3 tablespoons butter, softened
3/4 cup mashed potato flakes
1/4 cup sugar
2 teaspoons salt
1-1/4 teaspoons ground cinnamon
1 teaspoon grated orange peel
4 cups bread flour
1 tablespoon active dry yeast
1 cup dried cranberries

Orange Glaze:
1 cup confectioners sugar
2 to 3 tablespoons orange juice
3 tablespoons chopped dried cranberries, optional

Directions:

In bread machine pan, place the first 10 ingredients in order suggested by manufacturer. Select dough setting (check dough after 5 minutes of mixing; add 1 to 2 tablespoons of water or flour if needed). Just before final kneading (your machine may audibly signal this), add cranberries.

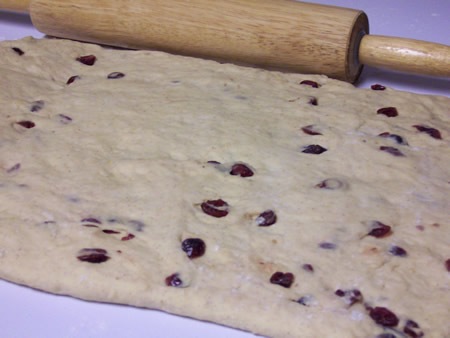
When cycle is completed, turn dough onto a lightly floured surface.

cranberry-orange-biscuits 001

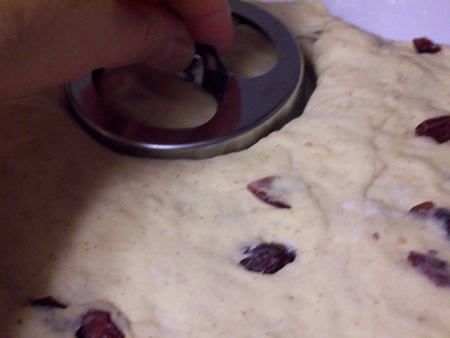
Cover and let rest for 15 minutes. Roll or pat to 1/2-in. thickness. Cut with a 2-1/2-in. biscuit cutter.

cranberry-orange-biscuits 002

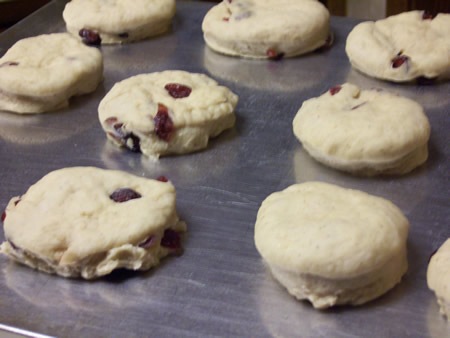
Place in a greased 15-in. x 10-in. x 1-in. baking pan. Cover and let rise in a warm place until almost doubled, about 40 minutes.

cranberry-orange-biscuits 003

Bake at 375° for 10-15 minutes or until golden brown.

cranberry-orange-biscuits 006

You can drizzle them with a sweet glaze for a delicious treat; however, I opted to just serve them warm with butter.

cranberry-orange-biscuits 030

Although I’m sure the glaze would have been very tasty, these cranberry biscuits were delicious without it.  They went really well with the turkey and dressing, beans, squash, sweet potato crunch, cranberry sauce, and other delectable items that were on the Thanksgiving menu.

If you want to use the glaze, combine confectioners' sugar and enough orange juice to achieve a glaze consistency. Drizzle over warm biscuits. Sprinkle with chopped cranberries if desired.

Note: Using the bread machine's time-delay feature is not recommended for this recipe.

Nutrition Facts: 1 serving (1 slice) equals 198 calories, 3 g fat (2 g saturated fat), 32 mg cholesterol, 306 mg sodium, 39 g carbohydrate, 1 g fiber, 6 g protein.


Thanks for joining me in the bread-baking blog.  Please visit again soon.

Happy Baking!
Cathy
You might enjoy these bread-making resources:

Tuesday 23 November 2010

Basic Savory Bread

I love to bake bread, in case you haven’t noticed.  However, I had gotten a little bit bored with the breads I’d been making lately.  To break out of the bread-baking box I’ve been in, I decided to try some different recipes.

I’ve had the book Bread Matters by Andrew Whitley for awhile, but hadn’t tried any of the breads recently.  I decided to remedy that by making this Basic Savory Bread

This bread utilizes a sponge and can be made into a basic loaf or used as the basis for a number of other delicious breads.  I decided to make the basic loaf and serve it with some homemade vegetable soup.

basic-savory-bread-dough 057


Basic Savory Bread

Adapted from Bread Matters: The state of modern bread and a definitive guide to baking your own by Andrew Whitley

I liked this formula because it only makes one loaf.  Most of the recipes I’ve been using lately make two loaves (or more). I end up freezing the other loaf or giving it away.  Although I suppose that’s not such a bad thing.

Making the Sponge

Ingredients:

  • 1/4 heaping tsp. (1/16 oz) active dry yeast
  • 2/3 cup (5 1/4 fl oz) water
  • 1/2 cup plus 1 T. (2 2/3 oz) unbleached all-purpose flour
  • 1/2 cup plus 1 T. (2 2/3 oz) stoneground whole-wheat or graham flour

Directions:

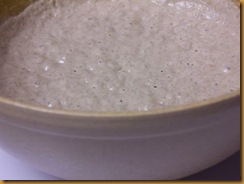
Dissolve the yeast in the water.  Add the flours and mix them together to form the sponge. Cover with plastic wrap and let it ferment at room temperature for 16 – 48 hours.

basic-savory-bread-dough 001

During the fermentation period, the sponge will rise up and collapse.  This is what the sponge looked like after 48 hours.

basic-savory-bread-dough 004

The Final Dough

Ingredients:

  • 1 cup (8 fl oz) Sponge (from above)
  • 1 cup plus 2 1/2 tablespoon (5 oz) unbleached all-purpose flour
  • 1/2 cup plus 1 tablespoon (2 2/3 oz) Stoneground whole-wheat or graham flour
  • 3/4 teaspoon (1/8 oz) sea salt
  • 1 tablespoon (1/2 fl oz) olive oil
  • scant 1/2 cup (3 2/3 fl oz) water


Use this formula to determine desired water temperature

If the sponge has been at room temperature in a cool place, you’ll need to use fairly warm water to bring the final dough to the desired temperature – 81 degrees F. 

To figure out how hot the water should be, use the following formula.  For the purposes of the calculation, treat the sponge as part of the flour. Add the temperatures together, then divide by two to arrive at an average.

2 x desired dough temperature minus actual flour temperature equals required water temperature.

If your desired dough temperature is 81 degrees F, the flour temperature in the Winter is probably around 43 degrees F and in the Summer it’s probably around 68 degrees F.  Mine fell somewhere in between.

Winter: 2 x 81 = 162 – 43 = 119 degrees F

Summer: 2 x 81 = 162 – 68 = 94 degrees F

Using the formula, I figured out I needed to warm the water to about 110 degrees F.


Making the final dough

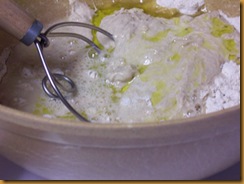
Mix all of the ingredients together and knead until the dough is smooth and stretchable.

basic-savory-bread-dough 005

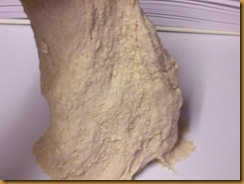
The dough still needed a little bit more kneading at this point so I continued to knead it a little bit longer.

basic-savory-bread-dough 007

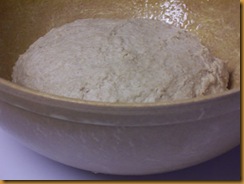
Cover and allow to bulk ferment for an hour or so.

basic-savory-bread-dough 008

The dough can be shaped into loaves or rolls.  I decided to bake it as a freeform loaf.  I shaped it into a round ball and let it rest on the counter seam side up for 10 minutes.

basic-savory-bread-dough 009

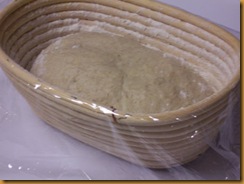
Then I shaped it into an oval and placed it into a floured oval banneton basket.

basic-savory-bread-dough 015

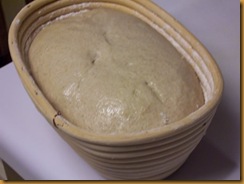
I let it proof in the basket for about an hour and a half.

basic-savory-bread-dough 016

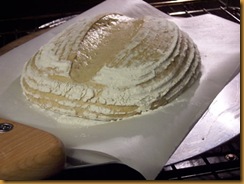
After the loaf had proofed sufficiently, I removed it from the banneton and scored it down the middle with a serrated knife.  The good thing about using so much flour is that it came out of the banneton basket really easily.  The bad thing is that there was way too much flour on the loaf, but I didn’t want to brush it off because I liked the rings.

basic-savory-bread-dough 018

I placed it on a preheated baking stone with a steam pan underneath.  Then I spritzed the walls of the oven with a spray bottle three times at 30-second intervals during the first 15 minutes.

basic-savory-bread-dough 021

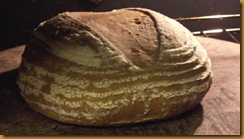
Then I closed the oven door and let the loaf bake for about 25 minutes at 450 degrees. 

basic-savory-bread-dough 023

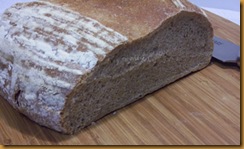
I liked the look of the bread with the flour on it, but not so much the taste.  It tastes better when you brush the flour off.  The loaf is a beautiful golden brown color due to the inclusion of the whole wheat flour.  It’s a very nice basic bread.

basic-savory-bread-dough 051

This bread tastes good warm with butter.  It went really well with homemade vegetable soup.  It also tastes better after a day or so.  It keeps well due to the sponge.


Happy Baking!
Cathy

Sunday 21 November 2010

Spiced Pumpkin Soup

I had several containers of frozen roasted pumpkin puree from last Fall that I wanted to use before I roasted more this season.  This Spiced Pumpkin Soup was just the ticket I needed.

Pumpkin, sweet potato and nutmeg combine with savory ingredients for a deliciously warming spiced soup. This soup is great on a chilly Fall evening served with crusty bread, but it would also be perfect served with your Thanksgiving meal. 

Speaking of Thanksgiving, did you know?

“Native Americans were growing pumpkins for hundreds of years before Europeans first came to America. They grew them in mounds among their other crops. They used pumpkin chunks in stew and fed pumpkin pieces to their horses.”

Source: Pumpkin Lovers Cookbook. Golden West Publishers, Copyright © 2007.

spiced-pumpkin-soup 012

Spiced Pumpkin Soup

Recipe from: She Knows Food & Recipes

You can find a slight variation of the recipe here

Ingredients:
1 tablespoon butter
1 cup onion, chopped
3 tablespoons all-purpose flour
1/2 teaspoon curry powder
1/4 teaspoon cumin
1/4 teaspoon ground nutmeg
2 garlic cloves, crushed
1 cup peeled and cubed sweet potato
1/4 teaspoon salt
2 14-ounce cans of nonfat and low-sodium chicken broth
1 15-ounce can of pumpkin (I used roasted pumpkin puree)
1 cup 1 percent milk
1 tablespoon fresh lime juice
Nonfat sour cream (optional)
Chopped cilantro for garnish (optional)

Directions:
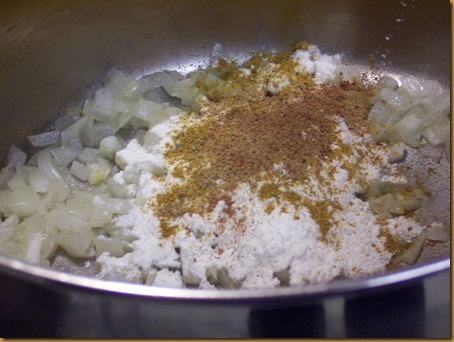
Melt butter in a Dutch oven or large saucepan over medium-high heat. Sauté onion for 3 to 4 minutes, then add flour, curry, cumin and nutmeg; sauté for 1 minute.

spiced-pumpkin-soup 003

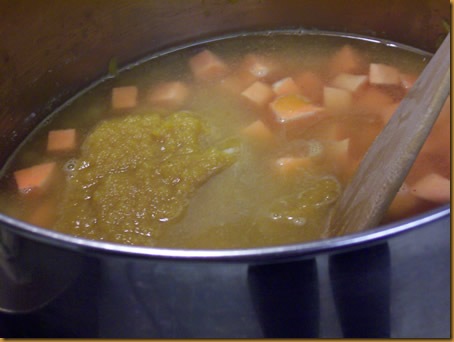
Add sweet potato, salt, chicken broth and pumpkin and bring to a boil. Reduce heat to medium-low and simmer, partially covered for about 20 to 25 minutes or until sweet potatoes are cooked through and softened. Remove from heat and let stand for 10 minutes to cool.

spiced-pumpkin-soup 004

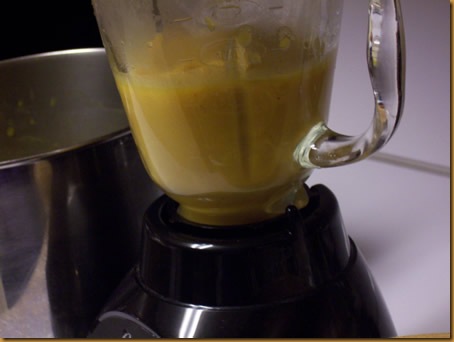
Place half of the pumpkin mixture in a blender and process until smooth.

spiced-pumpkin-soup 006

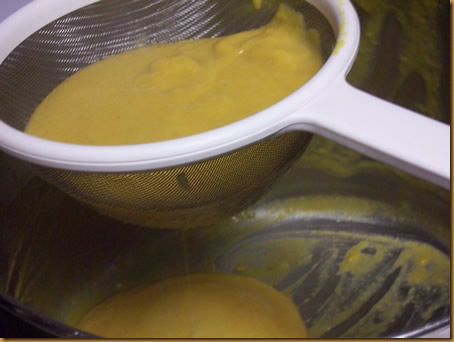
Using a strainer, pour soup back into pan. Repeat with rest of soup.  I started straining the soup, but then decided it didn’t need it.  I liked it thick so I just dumped all of it back in the pan without straining it.

spiced-pumpkin-soup 007

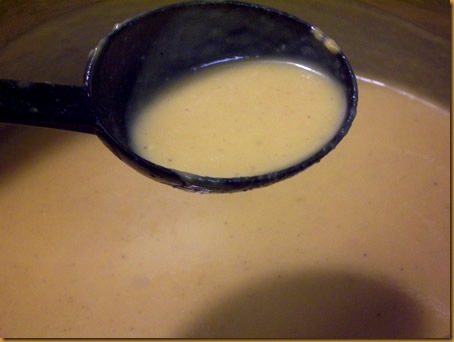
Raise the heat to medium, then stir in milk and cook for 5 minutes or until soup is heated through. Remove from heat and add lime juice.

spiced-pumpkin-soup 010

Serve with an optional dollop of nonfat sour cream and/or sprinkled with chopped cilantro. 

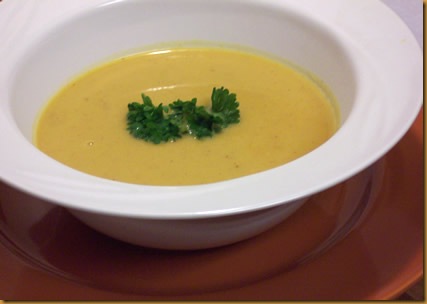
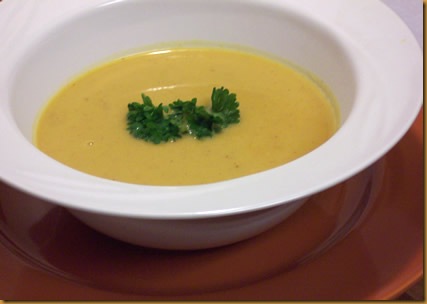
spiced-pumpkin-soup 012

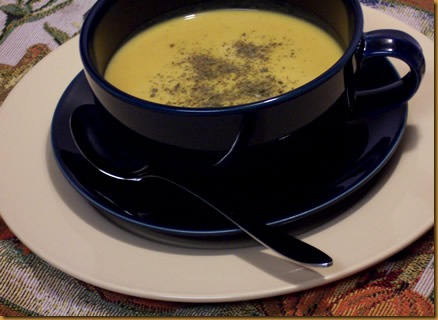
I topped the soup with parsley the first time I served it. We enjoyed a bowl of the Spiced Pumpkin Soup with these Tabbouleh Rolls with Parsley, Garlic and Bulger and a salad.

image

There was enough soup leftover for the next day so this time, I topped it with cilantro.  I didn’t have fresh so I just used dried cilantro. It tasted great!

spiced-pumpkin-soup 020

Nutrition facts per serving (1/6 of recipe or 300 grams): 128 calories, 31 calories from fat, 3g fat, 2g saturated fat, 7mg cholesterol, 351mg sodium, 19g carbohydrates, 3g dietary fiber, 0g sugars, 6g protein, 405 percent Vitamin A, 15 percent vitamin C, 8 percent calcium, 8 percent iron


Thanks for joining me in the bread-baking blog.  I hope you enjoyed this soup and will join me again soon.

Here are some bread-making resources if you’d like to enjoy some bread with your soup:

Wednesday 17 November 2010

Maple Apple Butter in Crockpot: tigress can jam

It’s November and guess what! We’re canning apples for the tigress can jam. I was a little disappointed last month that apples weren’t on the list, but I needn’t have worried. We’re all in different growing seasons so even though it’s November, apples are still available.  I got a half peck of Winesap Apples from my favorite farm and made this delicious Maple Apple Butter in the crock pot.

maple-apple-butter 008


I was trying to decide which apple butter recipe I was going to use when I ran across Tracy of Sugarcrafter’s post on Maple Apple Butter.  She used an adapted version of Michelle at BigBlackDogs.net’s Maple Apple Butter recipe.  It sounded so delicious and it’s made completely in the crock pot. That’s it!  I thought. I’m sold.

I had wanted to make apple butter, but was not looking forward to the long drawn out process that I went through last year.  The first time I made apple butter, it was a bit of a pain because I didn’t have a food mill or an apple peeler.  It tasted great so all was eventually forgiven, but I made up my mind that never again would I go through that exhausting process. 

The next time I made Apple Butter was much easier with the food mill, but it still took a while to cook all of the puree in the pot over the stove.  So when I saw that Tracy’s and Michele’s method of making the apple butter used the crock pot, that seemed like the perfect solution.

I opted to use an adapted version of the Apple Butter Recipe from The Joy of Jams, Jellies and Other Sweet Preserves by Linda Ziedrich.and make it in the crock pot. I had so much fun that I made two batches this way.

Maple Apple Butter

Adapted from The Joy of Jams, Jellies and Other Sweet Preserves by Linda Ziedrich.

Makes: about 3 1/2 to 4 pints

Ingredients:

6 pounds cored and quartered apples (unpeeled)
About 4 cups light brown sugar (I used 1 cup brown sugar, 2 cups granulated sugar and about 3/4 cups maple sugar. It was definitely sweet!)
1 tablespoon ground cinnamon
1/2 teaspoon ground mace or ground nutmeg (I used ground nutmeg)
1/2 teaspoon ground allspice

Directions:

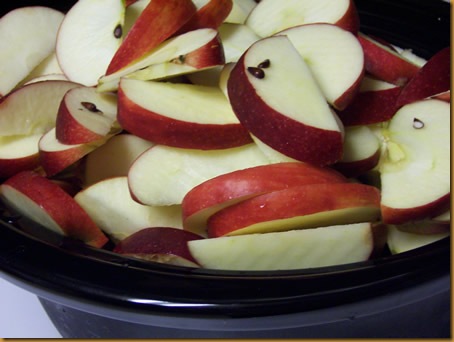
I didn’t peel or core the apples.  I just washed them, cut them into quarters and plopped them in the crock pot, seeds, cores and all.

maple-apple-butter 002

Although I liked the thought of cooking everything in the crock pot, I didn’t want to waste any maple syrup or brown sugar so I didn’t put all of the ingredients in the crock pot to begin with. 

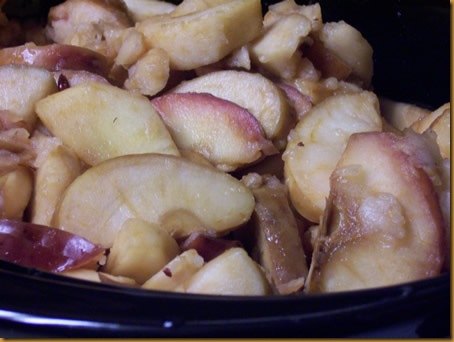
Linda’s recipe has you measure the volume of the puree to determine how much sugar to add. That method made more sense to me.  So, to begin with, I just cooked the apples (cores, peels and all) on low for about 4 hours until they were soft.  I didn’t add any water but I did add some lemon juice.

maple-apple-butter 016


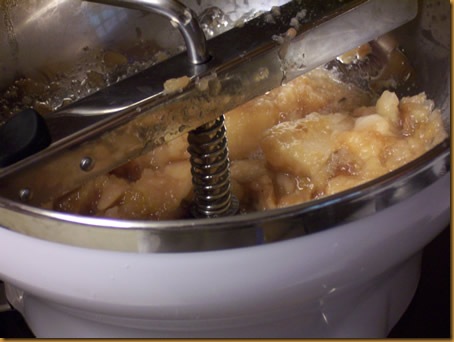
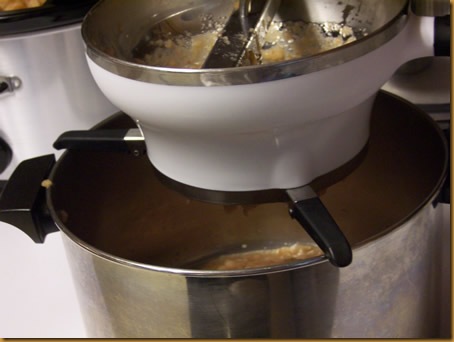
Then I ran the softened apples through the food mill using the coarse screen as the recipe suggested.

maple-apple-butter 004


I noticed some seeds had gotten through the coarse screen so I switched to the medium screen and ran the puree through the food mill again. It didn’t take very long and was definitely worth the effort.

maple-apple-butter 005


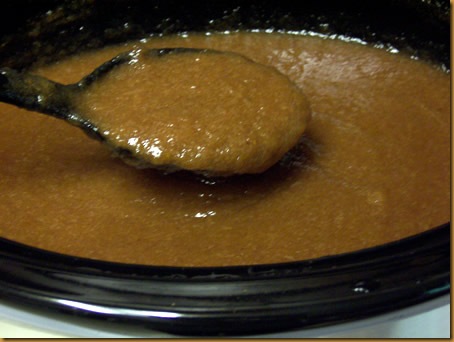
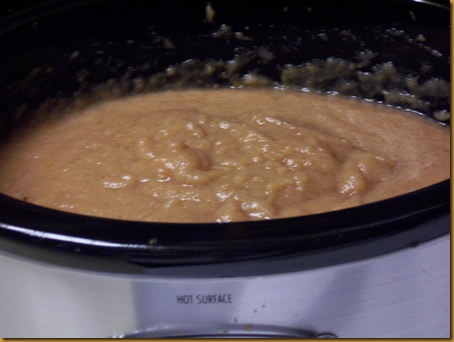
Here is what the puree looked like.

maple-apple-butter 006


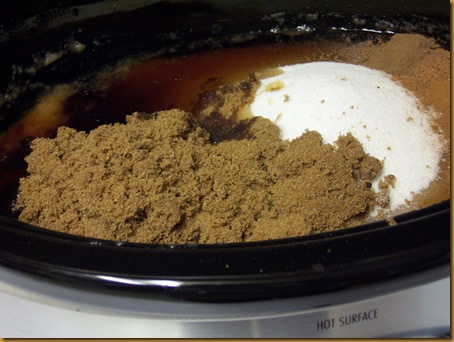
I ended up with 8 cups of puree. According to instructions, you measure the volume of the puree, and add half as much light brown sugar which would be 4 cups. I couldn’t bring myself to use that much brown sugar, so instead, I added 1 cup of brown sugar, 3/4 cup maple syrup and 2 cups of granulated sugar.  It was really sweet, but delicious!

maple-apple-butter 007


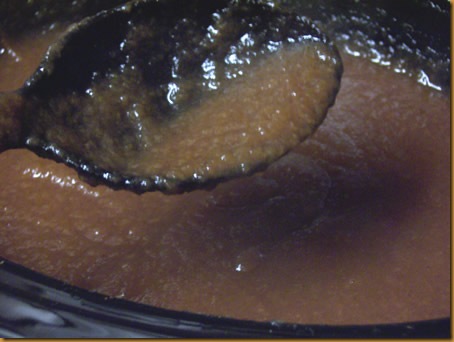
Then I added the cinnamon, nutmeg, and allspice and cooked the mixture in the crock pot on low until it was thick, about 4 more hours.  I started it on high, then turned it down after about 30 minutes or so.

maple-apple-butter 009


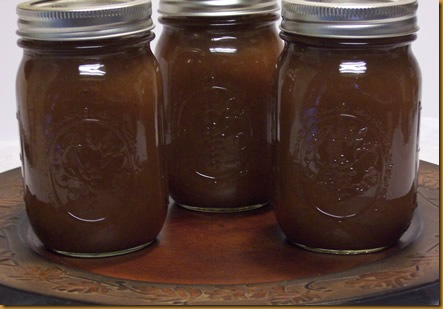
After the butter had thickened, I ladled it into mason jars, added lids and rings, and processed the jars in a boiling-water bath for 10 minutes. Refer to the instructions at the National Center for Home Preservation.

maple-apple-butter 013


This maple apple butter was simple to make and it tastes great!  I made two batches for a total of 12 half-pints and 5 pints. I’ve already given some away as gifts and am looking forward to sharing more.  I was so tempted to buy more apples and make more butter, but I refrained.

maple-apple-butter 029

As Linda relates in the book, Apple Butter is uniquely American.  It is a comfort food associated with warm bread, a warm fire, and rain or snow on the windowpane.

I invite you to enjoy some of this delicious Maple Apple Butter for yourself.

Happy Canning and Baking!
Cathy


Click for tigress can jam food blog challenge
We've been making jams or pickling every month in 2010. For more info, click on the button.  Check out the November Can Jam Roundup to see what the other can jammers have been canning.
 

Here are some of the references I use in my canning adventures.