Tuesday 25 February 2014

Einkorn & Spelt Pain au Levain with Caramelized Onions

My love affair with einkorn continues …. with Einkorn & Spelt Pain au Levain with Caramelized Onions and Rosemary.

Einkorn and Spelt Levain with Caramelized Onions & Rosemary

Over the past few months, I’ve been baking with spelt and KAMUT so einkorn got put on the back burner. Every time I would reach in the freezer to pull out one of the other ancient grains, the container of milled einkorn would beckon to me as if to say “what about me?”

I finally gave in this past weekend and used some of the milled flour to make the BOM for the Artisan Bread Bakers FB group. However, einkorn is not the only grain in this bread. It shares center stage with Spelt.

Making this bread was an experiment in a number of ways; from the grains I used, to the photos, to the fermentation process, and finally the baking process.

I used einkorn sourdough and all-purpose spelt flour to make the levain build and then mixed the levain with 80% extraction einkorn flour, sifted whole grain einkorn flour, all-purpose spelt flour and unsifted whole grain einkorn to make the final dough.

I also played around with the photos because I actually had sun shining through the windows in my kitchen this weekend. Oh what a lovely sight! I took as many photos as I could in natural light but ran out of it so you’ll see a mixture of light in the photos below.

I didn’t intend to try different fermentation methods for each loaf, but the second loaf stuck to the proofing basket so I had to reshape it and retard it in the refrigerator overnight.

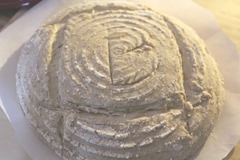
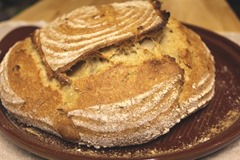
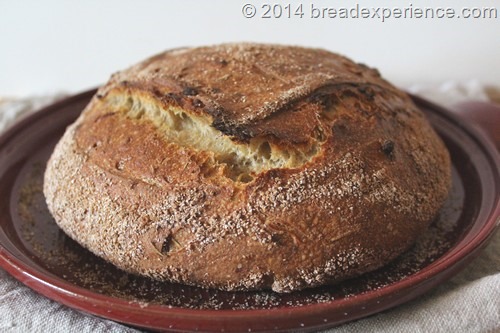
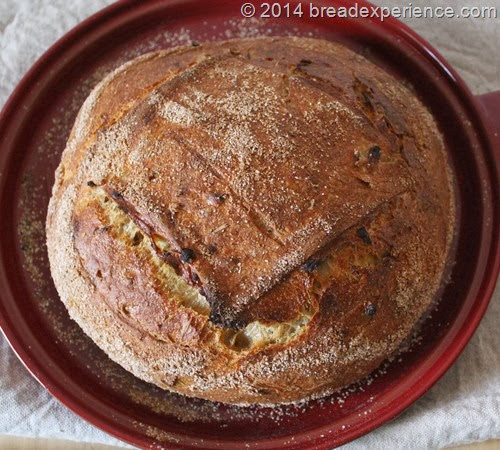
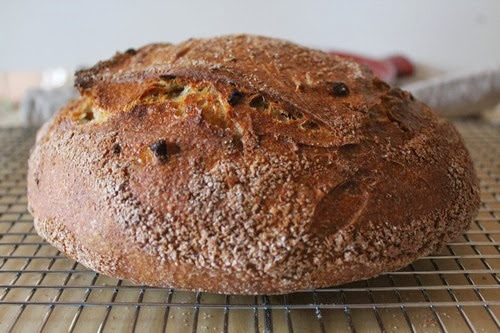
My final test was baking one loaf in a preheated Emile Henry Bread Baker and the other loaf in a cold baker in a preheated oven. The loaf in the photo below is the one that was retarded in the refrigerator overnight and baked in the preheated ceramic baker. It had better oven spring than the loaf that was proofed and baked the same day in the cold baker.

Einkorn and Spelt Levain with Caramelized Onions & Rosemary


Einkorn & Spelt Pain au Levain with Caramelized Onions

Adapted from: Pain au Levain with Caramelized Onions from David of HearthBakedTunes

Makes: 2 Loaves

Levain Build:

  • All purpose Spelt flour 227g
  • Water 227 g
  • Starter 100% hydrated; 45g (I used this Einkorn Starter)

Mix the spelt flour, water and sourdough starter and let it sit at room temperature for at least 8 hours. I started the levain Friday night and let it rest for about 12 hours until mid-morning on Saturday.

Final dough:

  • Water 372g + 35g (add with the salt)
  • Build 454g
  • All purpose spelt 227g
  • 80% extraction einkorn flour 135g
  • Whole grain einkorn flour, sifted once 195g
  • Whole grain einkorn flour, unsifted 228g
  • salt 15g*
  • caramelized onions 226g (~1 medium onion)
  • 2 –3 tablespoons dried rosemary, or to taste

*I reduced the amount of salt in the final dough to compensate for the salt added with the caramelized onions.

Caramelized Onions: Coarsely chop 283 grams of onions and toss with olive oil, salt and pepper. Caramelize the onions until translucent. They should be pretty wet, not crispy and dark. Set aside and let the onions cool. Add the onions once the dough is near the end of kneading.

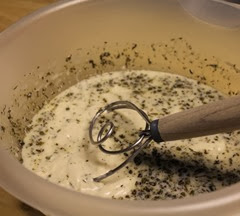
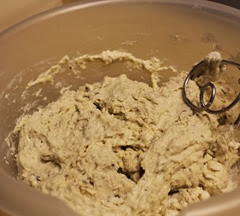
Autolyse: Pour the levain into a large bowl. Add 372g water to the levain mixture and stir to break up the levain.  Mix in the flours and dried rosemary, using a wooden spoon, a Danish dough whisk and/or your hands until a shaggy dough is formed. Cover the bowl and allow to rest at room temp for thirty minutes.

Knead in the onions by hand. Sprinkle the salt over the dough and pour in the 35g of water. Mix with your hands until the salt is thoroughly incorporated into the dough.

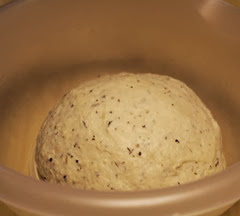
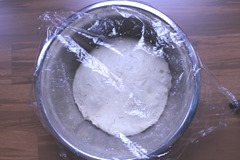
Bulk fermentation: Transfer the dough to a lightly greased bowl and cover with plastic wrap. Let the dough ferment for 2.25 hours with two folds at 45 minute intervals. Don’t skip the folds because they help the gluten development

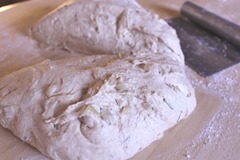
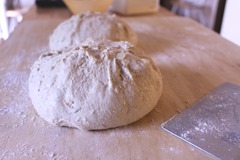
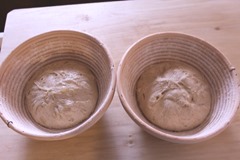
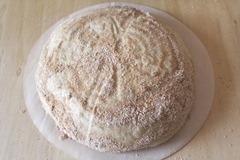
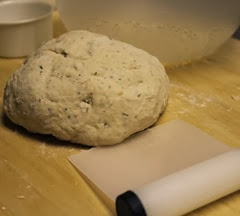
Shaping the loaves: Remove the proofed dough from the bowl and divide it into two equal pieces. Preshape the pieces into rounds and let them rest for 15 minutes. Shape the dough into boules and place them in linen lined brotforms or flour dusted brotforms and let them proof for 2 hours.
roasted-onion-spelt-einkorn-levain_129 roasted-onion-spelt-einkorn-levain_136
roasted-onion-spelt-einkorn-levain_139 roasted-onion-spelt-einkorn-levain_142


Preheat the oven to 450 degrees F.

I baked the loaves one at a time and started with a cold bread baker.

Baking the loaf in a cold Emile Henry Baker in the preheated oven:

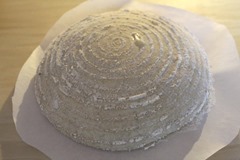
Carefully remove the loaf from the proofing basket onto parchment paper. I didn’t want the bread to stick to the bottom of my Emile Henry Bakers so I cut a round piece of parchment to fit the bottom.

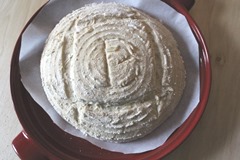
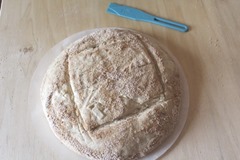
Score the loaf using the pattern of your choice. I decided to score a “B” for Bread Experience. I’ll have to add the “E” next time.

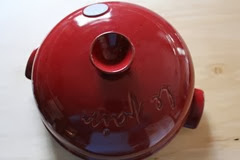
You can place the parchment paper in the bottom of the baker before scoring if you like, but I transferred it after I scored it. Then I covered the loaf with the cloche lid and placed it in the preheated oven.

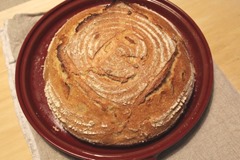
Bake the loaves for 40 minutes. Check the loaves at 30 minutes. Remove the lid from the baker and bake it without the lid for the last 10-15 minutes.
roasted-onion-spelt-einkorn-levain_156 roasted-onion-spelt-einkorn-levain_158
roasted-onion-spelt-einkorn-levain_167 roasted-onion-spelt-einkorn-levain_168
roasted-onion-spelt-einkorn-levain_179 roasted-onion-spelt-einkorn-levain_177


2nd Loaf retarded in refrigerator overnight.

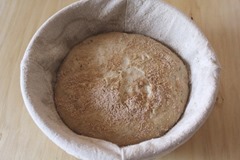
Now it was time to bake the 2nd loaf.  However, it stuck to the proofing basket so bad I had to reshape it. So I reshaped it into a boule and placed it in a lined proofing basket dusted with einkorn-bran. It was getting late so I chose to retard the dough in the refrigerator overnight.

The next day, I removed the dough from the refrigerator and let it warm up to room temperature.

Baking the loaf in a preheated Emile Henry Baker:

Meanwhile, I preheated the oven to 450 degrees F. with the Emile Henry Baker on the bottom rack for 30 minutes.

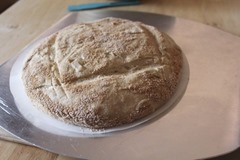
This time the dough came out of the basket very easily. I scored it and placed it on the round parchment paper.  For this loaf, I used round parchment paper I got from KAF. It looks better than my attempt at making round parchment with scissors.

When the oven and the bread baker were preheated, I used a pizza peel to transfer the the loaf (on the parchment paper) onto the bottom of the ceramic baker. I baked the loaf for 40 minutes, removing the lid for the last 10-15 minutes of baking.
roasted-onion-spelt-einkorn-levain_908 roasted-onion-spelt-einkorn-levain_911
roasted-onion-spelt-einkorn-levain_912 roasted-onion-spelt-einkorn-levain_916


Let dough cool completely before slicing.

Einkorn and Spelt Levain with Caramelized Onions & Rosemary


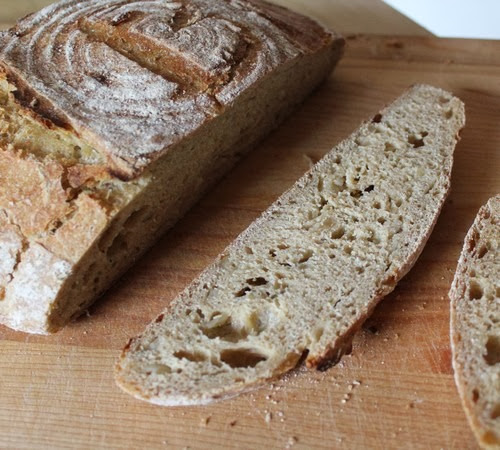
This is the crumb shot of the first loaf. It had a delicious smell and flavor.

Crumb shot of Einkorn and Spelt Levain with Caramelized Onions & Rosemary


Happy Baking!

Cathy


Sunday 23 February 2014

The Story Behind the EZ DOH Bread Maker

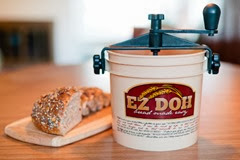
Over the past few weeks, I’ve featured the EZ DOH Bread Maker and some of the breads I’ve made with it. I plan to continue testing it and featuring different types of breads that can be prepared in it, but today, I’m doing something different.

I invited the creator of the EZ DOH Bread Maker to tell her bread-baking story and how the idea for the EZ DOH was birthed.

Please join me in welcoming, Ginny, a fellow bread enthusiast and the creator of a unique bread-making tool made in the USA.

Happy Baking!

Cathy
Our Bread-Baking Story – It wasn’t always “EZ”

"Bread is the king of the table and all else is merely the court that surrounds the king. The countries are the soup, the meat, the vegetables, the salad but bread is king."
Louis Bromfield, American novelist (1896-1956)

ginny-ezdoh

I’ve been a bread baker for quite some time, though it hasn’t always been so. My husband and I were married in 1977 – and I was NOT a cook. When we moved from Ohio to California to finish school, I was far from family and friends, and on my own to learn cooking and baking skills.

As we rarely had enough money to go out to eat, Dave patiently suffered my experiments. Our favorite day of the week would be when fellow-newly-wed-neighbors in our apartment complex would invite us over to share a fresh, fragrant loaf of homemade bread (Kristy was a farm girl from Nebraska with incredible baking skills). The four of us would greedily devour the delicious loaf (with LOTS of butter) in short order! I was sure I didn’t have the time or the talent to concoct such a wonderful thing, so I left the weekly baking to Kristy! I did occasionally attempt to imitate her creations with frozen bread dough I purchased at the grocery. However, the results were always very, very sad…..and doughy…..and hard…..and tasteless …..you get the picture!

In 1979, Dave finished school and we headed back to Ohio, where we found ourselves a part of a movement to do things “naturally” – we canned our own food, we put a wood-fired furnace in our home, we home-schooled our kids, and, of course , making our own bread became a part of the picture. A dear friend and mentor took me under her wing….and a miracle occurred! I learned how to bake bread! And…..I fell in love.

Eventually, bread baking became my signature. I was asked to bring bread to church gatherings; I always included a specialty bread basket when I catered; our family’s cinnamon rolls were the big draw at the neighborhood garage sales; my children’s friends always hoped they visited when the bread was coming out of the oven.

Initially, I used an old Sunbeam mixer to make the dough when I was in too much of a hurry to knead it by hand. Then I happened upon an antique dough bucket at a local flea market! What a genius invention of simplicity this was! I could make 5-10 loaves at a time neatly and efficiently – I loved it! I often thought how great a “mini bread bucket” would be, especially for friends of mine who asked me to teach them to bake bread. It was easy….it wasn’t very messy…..it would make 1-2 loaves….and it certainly couldn’t cost too much….

Fast forward to today, and with much prayer, help from friends and faith, that “thought” became EZ DOH. Already, we’ve been through revisions and adjustments and we’re sure there’s more to come, but we’re so proud of the product we have to offer. We’re hoping to help many more people overcome that fear of yeast and fall in love with the bread-making process.

EZDOH-14

Visit EZ DOH us at www.ezdoh.com for more information. See our blog for weekly “Friday Recipes”

Thursday 20 February 2014

Garlic & Herb Sourdough Pull Apart Bread

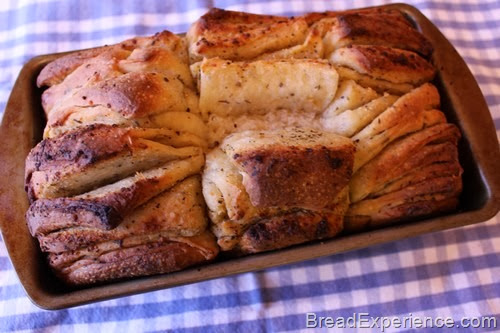
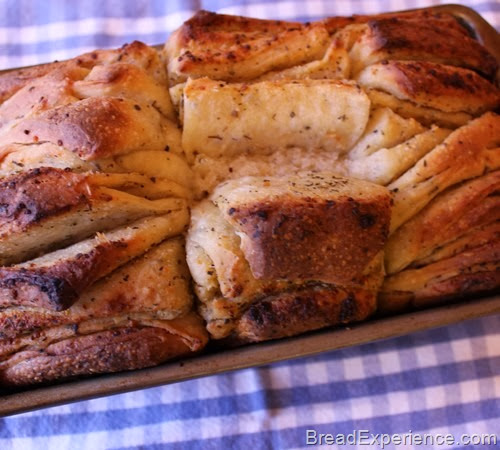
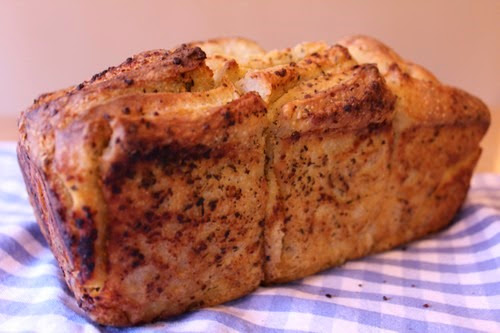
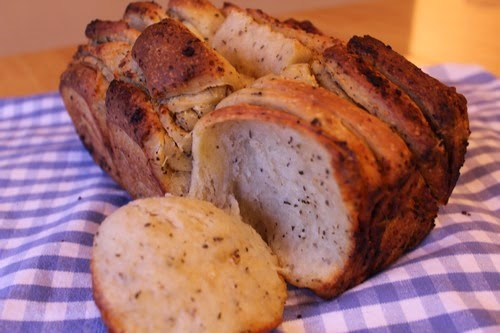
Making this sourdough pull apart bread was a complete sensory experience; from touching and kneading the dough, to the smell while it was proofing and baking and finally the appearance and melt-in-your-mouth taste of the soft and herby loaf.

Sourdough Herb & Garlic Pull Apart Bread


I basked in the aroma of the garlic and herbs every time I walked into my kitchen. The dough bulk fermented for about 10 hours (mostly overnight) and proofed in the pan about 5 hours so I had plenty of time to enjoy the wonderful fragrance that filled the room. The baked bread was even more heavenly. I’ve been enjoying it for dinner, snacks and even breakfast.

I got so hungry while I was photographing the loaf that I took a piece from the center before I got the final photos. I just couldn’t help myself. If you are wondering why there is a gap in the middle of the loaf, this is why. I thoroughly enjoyed it.

Garlic & Herb Sourdough Pull Apart Bread


It’s so much fun to make breads using a sourdough starter. You can take a favorite recipe and transform it into something new just by substituting sourdough for the yeast and adjusting the hydration/flour ratio.

When I found out about the Sourdough Surprises Baking Group last year, I had already missed a bunch of the baking surprises, but I knew this was a bandwagon I wanted to jump on. 

I have several sourdough starters; each made from a different type of flour. Participating in this baking group provides the opportunity to try different types of breads using my starters.

This month’s challenge was to make sourdough monkey bread or pull apart bread. Sweet and gooey monkey bread is fun to make and just as enjoyable to eat, but I decided something savory might be better for my waistline, particularly since we just celebrated Valentine’s Day.

The first time I made this pull apart bread, I used my spelt sourdough starter and spelt flour. I adapted a recipe from a cookbook I don’t normally use, and I didn’t particularly like the result. It was just so-so.

I looked around for more inspiration and found it on Pinterest and in another one of my cookbooks. This time, I used my newly created KAMUT sourdough starter because it had been recently activated and was ready to go. I decided to pair the KAMUT with spelt. I really like this combination although I think it would be good with all spelt as well.


garlic-pullapart-bread_6040


Garlic & Herb Sourdough Pull Apart Bread

Makes: 1 Loaf

Inspired and adapted from:

Dough:

  • 1 cup sourdough starter
  • 1 tablespoon olive oil
  • 1 cup milk
  • 4 cloves minced garlic
  • 1 tsp. sea salt
  • 1 tablespoon sugar
  • 1 tsp. dried thyme
  • 1 tsp. dried oregano
  • 1/2 tsp. crushed dried basil
  • 3 1/2 cups all-purpose white Spelt flour

Filling:

  • 3 tablespoons unsalted butter, melted & divided
  • 4 cloves minced garlic (or more to taste)
  • 6 – 8 tablespoons Parmesan cheese (or more to taste)
  • 1 tsp. crushed dried basil


Directions:

Note: If you haven’t fed your starter recently, refer to the post on how to activate a sourdough starter.

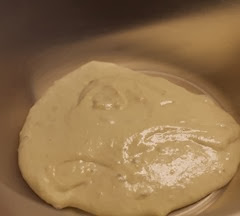
Pour the activated sourdough starter into a large mixing bowl. Warm the milk. Stir the oil, minced garlic, salt, sugar and herbs into the warm milk and add this mixture to the starter. Mix well using a wooden spoon or Danish dough whisk.

Add the flour, a cup at a time and continue adding until the dough is too stiff to mix by hand. Turn it out onto a floured work surface and knead in the remaining flour. Knead until the dough is smooth and elastic.

You can also mix and knead the dough in a bread machine or stand mixer if you prefer. 

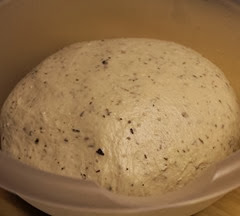
Place the dough in a clean, greased bowl and cover with plastic wrap. Let it proof at room temperature, about 70 degrees F. for 8 to 12 hours (or overnight). During the bulk fermentation, the dough should double in size.

garlic-pullapart-bread_1001 garlic-pullapart-bread_1002
garlic-pullapart-bread_1003 garlic-pullapart-bread_1004
garlic-pullapart-bread_1005 garlic-pullapart-bread_1006


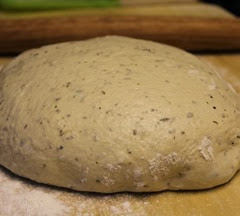
The next morning or 8 to 12 hours later, gently remove the dough to a floured work surface and let the dough rest for 20 - 30 minutes before proceeding to the next step.

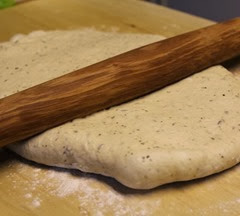
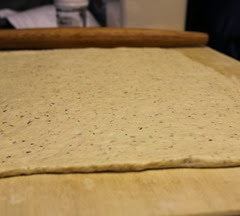
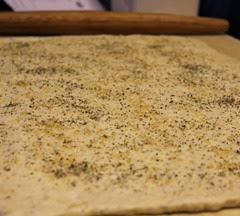
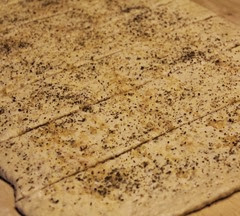
Roll out the dough into a 12 x 20-inch rectangle. Brush with 3 tablespoons of the melted butter and sprinkle the parmesan cheese herbs and minced garlic over the top.

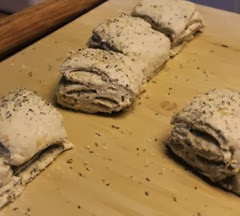
Cut the dough into 6 equal pieces using a sharp knife of a pizza wheel. Stack the pieces on top of each other and cut the stacks into 6 equal pieces.

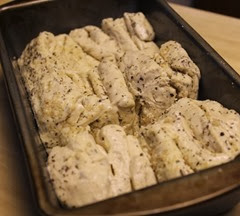
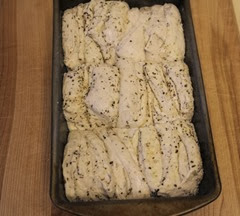
Transfer the stacks to a 9 x 5-inch bread pan. Cover the pan with plastic wrap and let the loaf proof for 2 to 4 hours, until it doubles in bulk or rises almost to the top of the pan. I let mine proof for 5 hours at room temperature due to my schedule. If you want a shorter proof time,, let it proof at room temperature for 1 hour, then place it in a warm place, 85 to 90 degrees, until it doubles in bulk.

garlic-pullapart-bread_1008 garlic-pullapart-bread_1009
garlic-pullapart-bread_1010 garlic-pullapart-bread_1012
garlic-pullapart-bread_1014 garlic-pullapart-bread_1016
garlic-pullapart-bread_1017 garlic-pullapart-bread_1027


Preheat the oven to 350 degrees F. Drizzle the top of the loaf with the remaining 1 tablespoon of melted butter. Place the loaf in the preheated oven and let it bake for 35 – 45 minutes. If the loaf starts to brown before it is baked through, tent it with foil to prevent over browning.

Remove to a wire rack to cool slightly before serving.  The pull apart bread tastes best warm, but I also enjoyed it the next day at room temperature.

Sourdough Herb & Garlic Pull Apart Bread


Happy Baking!

Cathy


Sunday 16 February 2014

KAMUT Rgaïf – Moroccan Flatbread for BBBs

The Bread Baking Babes celebrated their 6th Anniversary by travelling (virtually) to Morocco to learn a new layering technique.

Lien of (Notitie van Lien) chose Rgaïf (aka Rghaif), a Moroccan flatbread/pancake, as the challenge this month. This flatbread is also known by other names depending on how the dough is folded before it is baked.

Rgaïf -- Moroccan Flatbread


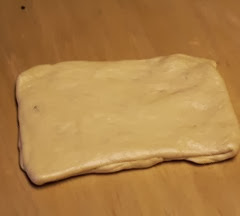
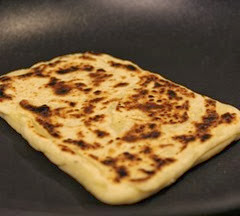
This version of Rgaïf is referred to as Msemen. You shape the dough into a ball, flatten it, then stretch it out paper thin (yes I said paper thin without tearing it, mind you), and fold it into a square. Then you fry it in a hot pan to form a layered flatbread that is crispy on the outside and chewy on the inside.

The part about stretching it out as thin as paper, had me a bit nervous. After reading and rereading the instructions, I still wasn’t clear what the final texture/thickness was supposed to look like. I did some research and found that it was similar to a bread I had made before, at least the name was similar.

We made Algerian Flatbread (aka Msemmen) in the Healthy Bread in Five Minutes challenge a few years ago, but when I started digging a little bit further into the different translations, it seems that the Msemmen we made in the HBinFive Baking Group was actually Meloui, not Msemen. 

Moroccan Meloui, is flattened and coiled into a circle before baking. This was how we made the Msemmen a couple of years ago. I found several other references to different folding techniques such as ‘judges ears’ and ‘judges turban’ and several other techniques. The different translations/interpretations were very interesting, but a little confusing. I decided it was time to just make the bread.

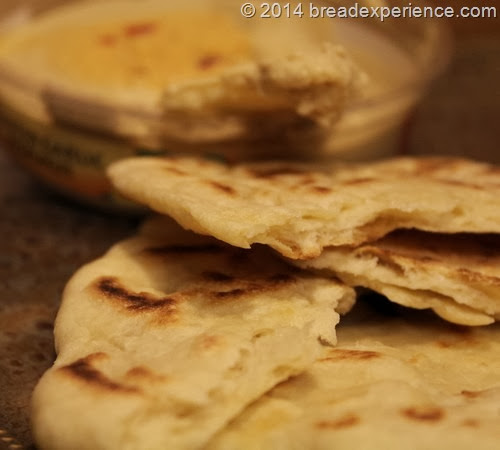
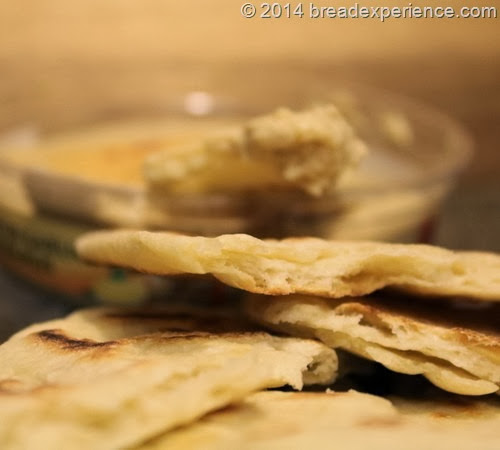
On my first attempt, I spread the Rgaïf out, sprinkled it with parmesan cheese and black pepper, then folded and baked it in a heated skillet. It was a little too thick and a bit blah so I only made a couple this way. I made the rest plain and served them with roasted-garlic hummus. That was the ticket!

Rgaïf -- Moroccan Flatbread with hummus


Rgaïf (Msemen)

Makes: (about 10)  or more depending on how many dough balls you shape

Adapted from: “Vrijdag couscousdag” by R. Ahali

Ingredients:

  • 500 g (3.5 – 4 cups) flour (I used white KAMUT flour) *
  • 5.5 g (2 tsp.) instant yeast
  • ½ tsp. salt
  • ± 250 ml (1 cup) water (plus a little more if using KAMUT)
  • 50 ml (~1/4 cup) olive oil

* I’ve been baking without using regular bread flour or all-purpose flour this year with the exception of my white sourdough starters. When I found out we were making rgaif, I wasn’t sure what flour to use as a substitute. The key to my dilemma jumped out at me from the instructions. “The dough needs to be very elastic...”  I knew I could use KAMUT because compared to bread flour, it has very good elasticity and extensibility. This was a good thing because I’m still trying to work my way through a 25 pound bag of KAMUT.


Directions:

Mix flour, yeast and salt in a large bowl.

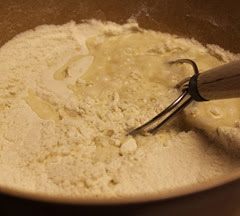
Kneading by machine: Add water and start kneading with the dough hook, adding more water as necessary. Knead until the dough is very elastic and doesn’t stick to the sides anymore.

Kneading by hand: Make a well in the centre and add some water, start mixing in the flour where it touches the water. Little by little add more water and keep mixing in the flour. Start kneading, grease your hands with a little oil to prevent sticking. Knead about 20 minutes. Add water if it feels too dry. The dough needs to be very elastic and no dough should stick to your hands.

Rgaif_301 Rgaif_302


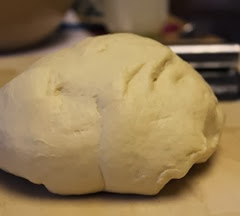
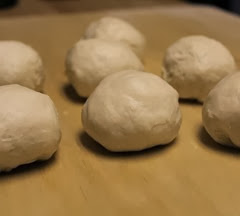
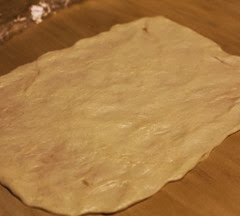
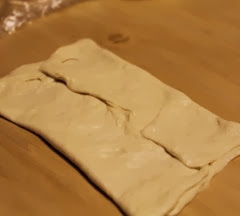
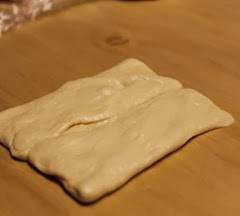
Shape: Make 10 dough balls. Coat every ball with a little olive oil. Let them rest for about 5 minutes. Flatten the ball with your hand as much as you can. Stretch the dough. Take care to get no (or a little as possible) holes in the dough. You need to stretch the dough until it gets as thin as you can, thinner than paper if possible. It’s best done on a counter top, stretching the dough and sticking it to the surface, so it doesn’t spring back. This part is tricky. Now fold the dough in squares by folding the round sides inwards.

Bake the squares in a hot large pan on both sides. Only use more oil if the Rgaïf stick to the pan. You can also deep fry them (as they do in southern Morocco)

Rgaif_330 Rgaif_202
Rgaif_203 Rgaif_204
Rgaif_321 Rgaif_323


Serve: You can serve them with syrup, (strawberry) jam, chocolate sauce. Or, you can use savory things, like thinly slices meat, cheese etc. You can also spread some filling in them, before folding and baking them. Just keep in mind to make it thin.


Happy 6th Anniversary Bread Baking Babes! 

BBB logo February 2014


This was a fun and challenging bread to make.  Some of mine turned out more like pita pockets, but they were good, especially with the hummus.

I’m excited to be baking as a Babe now. I’ve spent the past couple of years baking as a Buddy and thoroughly enjoyed it, but now I’ll be baking as a Babe. The heat is on!

Would you like to be a Bread Baking Buddy and learn how to stretch and fold Rgaïf? If so, please visit Lien’s blog to find out how.  You’ll also want to visit the other Babes to see how they made their Rgaif.

Tanna-My kitchen in 1/2 cups
Karen - Bake my day!
Ilva - Lucullian delights
Lien - Notitie van Lien
Katie - Thyme for cooking
Natashya -Living in the kitchen with puppies
Elle-Feeding my enthousiasms
Elizabeth-from our kitchen
Jamie - Life's a feast
Heather - Girlichef
Aparna - My diverse kitchen


Happy Baking!

Cathy