Friday 31 January 2014

KAMUT Pain Au Levain 75% Hydrated

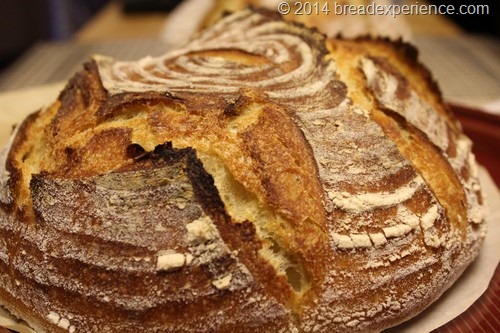
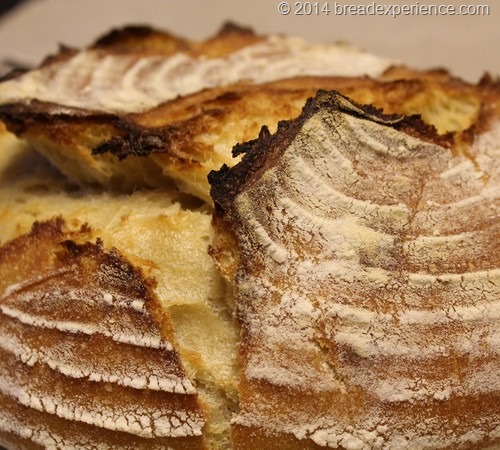
75% hydration KAMUT Pain Au Levain was my bread experiment last weekend. It has a very mild and wheaty flavor.

KAMUT Pain Au Levain


The BOM (aka bread of the month) for the Artisan Bread Bakers FB Group was a 69% Hydration Pain Au Levain. My version ended up being 75% hydration because it is made with white and whole grain KAMUT, and KAMUT absorbs more water than regular bread flour. I used 45g of my white sourdough starter which make the final dough 99.98% KAMUT, just shy of 100%.

I really enjoy baking with KAMUT flour. The dough is buttery and smooth and a dream to work with. And, as I mentioned earlier, it is more absorbent than white bread flour. It also has good elasticity and extensibility. These are the characteristics you look for in a bread flour.

KAMUT Pain Au Levain


When it came time to bake the loaves, I was feeling pretty confident so I conducted a test in my Emile Henry Bread Cloche to find out how the bread performed in a cold stoneware baker (in preheated oven) versus a warm stoneware baker in the warm oven.

The first time I used the Emile Henry Baker was a couple of months ago when I made Country Brown Bread.  The loaf stuck to the bottom of the cloche so I was a little disappointed with the way it looked, even though it tasted great.

This time, I used parchment paper to prevent the loaf from sticking to the bottom of the baker during the bake cycle. I could’ve used a mixture of cornmeal and flour to dust the bottom of the baker, but I opted for KAMUT-dusted parchment paper instead.  The parchment worked really well. I was very pleased with the results.


75% Hydrated KAMUT Pain Au Levain

Adapted from David’s 69% Hydration Pain Au Levain 

Makes: Two Loaves

KAMUT Pain Au Levain in Emile Henry Bread Cloche


Levain Build:
White KAMUT flour 227g
Water 227 g
Starter 100% hydrated; 45g

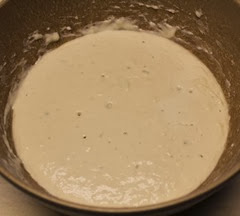
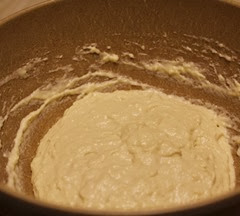
Mix the ingredients together and let the build sit at room temperature overnight or for at least 8 hours.
KAMUT-pain-au-levain_102 KAMUT-pain-au-levain_105


Final dough:
Water 515g
Build 454g
White KAMUT flour 460g
Whole Grain KAMUT flour 230g
salt 17g

Mixing the Dough:

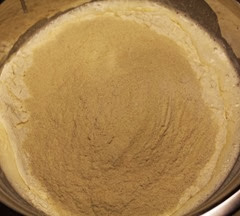
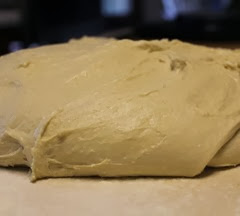
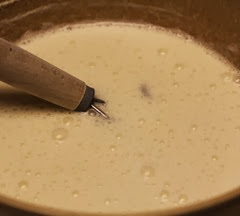
Stir about 465 grams of water into the levain. Reserve about 50 grams of the water (to mix with the salt). Transfer the levain and water mixture to a large bowl and add the flour. Mix using a wooden spoon or Danish dough whisk until a shaggy mass is formed. Cover and allow to rest (Autolyse) at room temperature for thirty minutes.

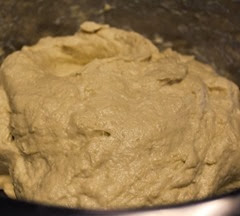
Add the salt and 50 grams of water and mix using the finger pinch method (grabbing the dough with four fingers) until the salt is thoroughly incorporated and no salt crystals remain.
KAMUT-pain-au-levain_107 KAMUT-pain-au-levain_109
KAMUT-pain-au-levain_110 KAMUT-pain-au-levain_112


Bulk Ferment:

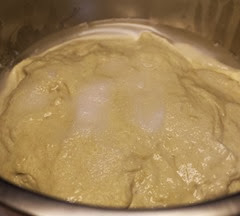
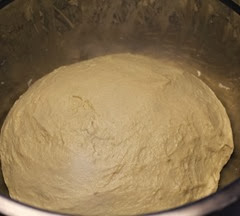
Transfer the dough to a lightly greased bowl and cover with plastic wrap. Let the dough ferment for 2.25 hours with two folds at 45 minute intervals. The folds will really help the gluten development.
KAMUT-pain-au-levain_121 KAMUT-pain-au-levain_122


Final Proof:

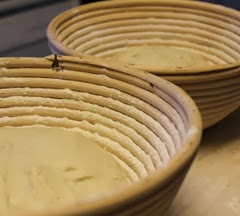
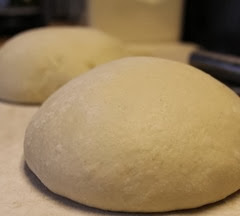
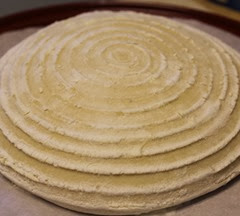
Preshape the dough into boules and allow them to rest for 15 minutes. Then shape the dough into tight boules and place them in linen-lined brotforms or flour dusted brotforms. Let proof for 2 hours.
KAMUT-pain-au-levain_123 KAMUT-pain-au-levain_127


Prepare the oven for baking:

Adjust the oven rack so that it’s in the bottom third of the oven. Preheat the oven to 450 degrees for at least 30 minutes.


Scoring the Loaves:

Remove the loaves from the baskets.

I baked one loaf at a time so at this point, I put one basket in the refrigerator while the other loaf was baking.

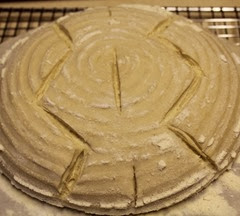
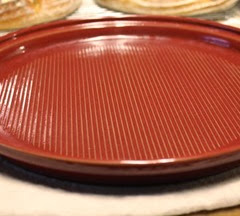
I placed the first loaf in the room temperature Emile Henry Bread Baker on a piece of parchment paper cut to fit the bottom of the cloche. This is my new trick to keep it from sticking to the bottom of the baker.

Score the loaves using the pattern of your choice.

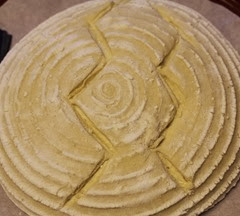
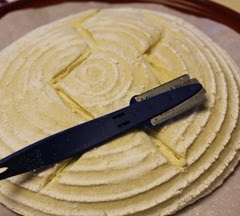
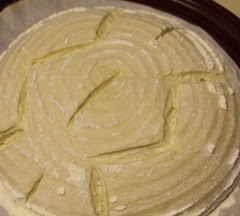
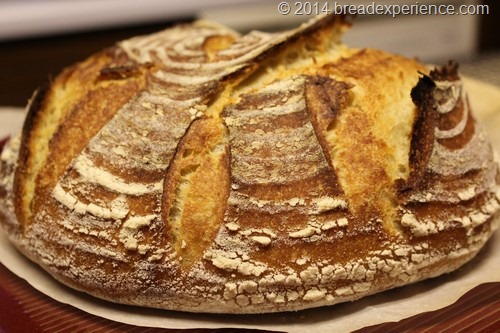
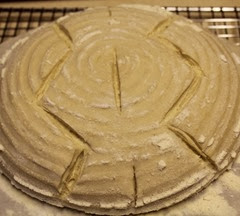
I tried a scoring method similar to the one Chad Robertson uses in his new book Tartine Book No. 3.  To make the scores, I used a Mure & Peyrot Longuet Lame with a straight blade. The first loaf tore a little bit so I scored the pattern a little bit differently for the second loaf.
KAMUT-pain-au-levain_128 KAMUT-pain-au-levain_131
KAMUT-pain-au-levain_130 KAMUT-pain-au-levain_146


Baking the Loaves:

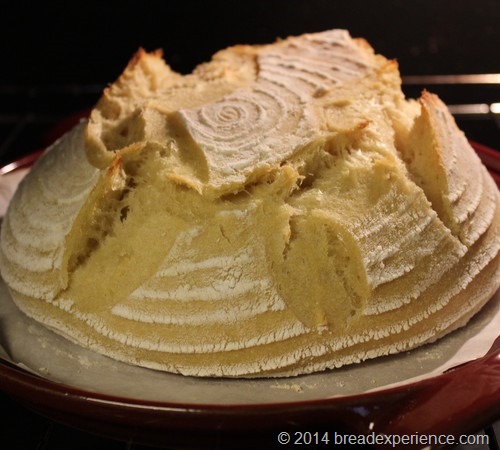
Carefully place the room temperature cloche in the preheated oven and cover it with the dome-shaped lid.

Bake the bread at 450 degrees for 40 minutes. Carefully remove the cloche lid and check the loaf about 10 to 15 minutes before the end of the bake cycle to see how it’s baking. Remove the parchment paper so the loaf will brown evenly on the bottom. For a darker and thicker crust, remove the cover during the last 5 to 10 minutes of baking.

KAMUT Pain Au Levain baking in oven


When the bread is finished baking, carefully remove the cloche lid and place it on a cloth to keep it from cracking from the temperature change. Remove the loaf to a wire rack to cool and place the bottom of the baker on a cloth-covered board.

Turn the oven back to preheat so it warms back up to 450 degrees F.

KAMUT-pain-au-levain_137 KAMUT-pain-au-levain_184


While the first loaf is baking, remove the second loaf (in the proofing basket) from the refrigerator. Flip it onto on a floured piece of parchment paper. I used the same piece of parchment for both loaves. Score the loaf using the pattern of your choice.  As I mentioned earlier, I got the inspiration for this scoring pattern from Tartine No. 3 by Chad Robertson. I embellished this one a bit.

After you remove the first loaf from the cloche, place the second loaf (on the floured parchment paper) on the cloche bottom.  It will still be warm so be very careful.
KAMUT-pain-au-levain_146 KAMUT-pain-au-levain_149


Place the second loaf (on the cloche) in the preheated oven and place the cloche lid back on and close the oven door. 

Bake the bread at 450 degrees for 40 minutes. Carefully remove the cloche lid and check the loaf about 10 to 15 minutes before the end of the bake cycle to see how it’s baking. Remove the parchment paper so the loaf will brown evenly on the bottom. For a darker and thicker crust, remove the cover during the last 5 to 10 minutes of baking.

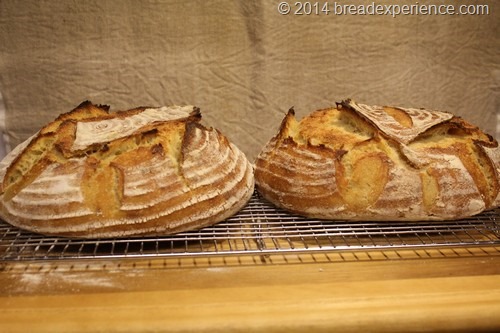
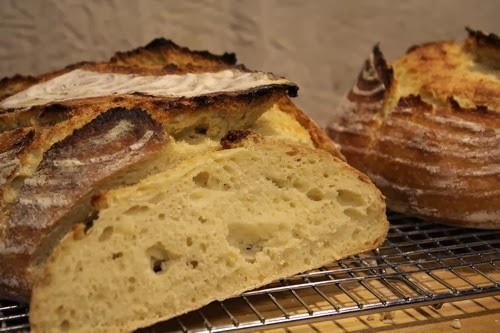
Remove the second loaf to the wire rack to cool.  Here are both loaves. The one on the left was baked in the room temperature cloche in a preheat oven.  The one on the right was baked in the still warm cloche in the preheated oven.  The second loaf got a little darker but I think it’s because I let it bake a little bit longer.

KAMUT Pain Au Levain cooling on rack


Let the loaves cool completely before slicing.  This is the crumb shot of the first loaf. I didn’t get a shot of the crumb of the second loaf because I gave that one away.  I actually bartered that one away for a ride to pick up my car from the shop. 

KAMUT Pain Au Levain cooling on rack


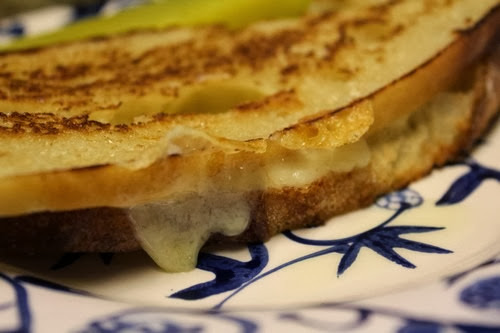
This is one of my favorite ways to enjoy this bread.  Grilled cheese with a pickle. Yum!

KAMUT Pain Au Levain as grilled cheese sandwich


Happy Baking!

Cathy
Wednesday 29 January 2014

No Knead Chocolate Spelt & Prune Bread

I know what you’re thinking… prune bread?  Umm, no thanks. That was my initial thought when I learned the Bread Baking Babes (BBBs) were making Chocolate Prune Bread this month.

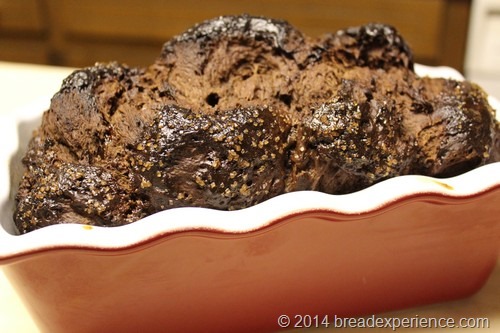
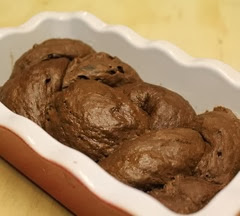
No Knead Chocolate Spelt & Prune Bread


It seems the childhood memory of eating prunes in the school cafeteria still haunts me. 

When I was growing up, the cafeteria served prunes for dessert sometimes. These weren’t the dried prunes you get out of the box, they were stewed prunes served with warm syrup and scooped from large pots. At least that’s what I imagined they were cooked in. We always skipped dessert on the days they served prunes.

Years later, I tried prunes (out of the box) and enjoyed them. Prunes are just dried plums after all, and when you pair them with chocolate and bread, what’s not to like!  It’s a delicious combination, but if you prefer, you can substitute a different dried fruit in this bread.

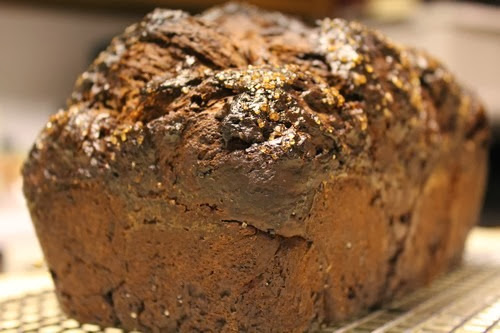
No Knead Chocolate Spelt & Prune Bread cooling

This is a rich and chocolaty no knead bread. My adapted version is based on the recipe from the original Artisan Bread in Five Minutes by Jeff Hertzberg, M.D. and Zoë François.

They just released an updated version of the book The New Artisan Bread in Five Minutes a Day (revised & updated edition) and in it, they provide an updated version of this Chocolate Bread Recipe.

Jamie (Life’s a Feast), the host of this month’s bread bake, has the updated version posted on her blog. The updated version includes measurements in grams and ounces.

My version is made with all-purpose Spelt flour so I made a few adjustments to the formula to accommodate the Spelt.  Spelt is rather picky you see.  It doesn’t absorb water as well as regular bread flour and it doesn’t like being over mixed.

Note: If you want to make this bread with all-purpose flour or bread flour instead of spelt flour, increase the amount of water used otherwise the bread will be dry and crumbly. 


Double Chocolate Spelt & Prune Bread

Adapted from: Artisan Bread in Five Minutes by Jeff Hertzberg, M.D. and Zoë François.

Makes one 1 ½ pound loaf

Ganache:

  • 2 oz. premium chocolate*
  • 1/4 cup salted butter

Final Dough:

  • 2 3/4 cups all-purpose Spelt flour
  • 1/2 Tbsp. Instant yeast
  • 3/4 Tbsp. Kosher salt
  • 1/2 cup premium cocoa powder
  • 2.5 oz. premium chocolate, finely chopped*
  • 1 cup lukewarm water (100°F or below)**
  • 2 large eggs, lightly beaten
  • 1/3 cup honey*
  • Softened unsalted butter for greasing the pan
  • Egg wash (1 egg beaten with 1 Tbsp. water)
  • 1/4 cup sugar for sprinkling over the top of the bread and preparing the pan

Filling:

  • 2 ounces premium chocolate*
  • 3/4 cup chopped dried prunes

* The original recipe recommended using premium bittersweet chocolate.  I wanted a more chocolaty flavor so I used a combination of 60% dark chocolate and intense dark chocolate infused with natural blackberry and grape flavor.  Since the chocolate I used had sugar in it, I used a little less than 1/3 cup of honey in the final dough.

** If you use all-purpose flour or bread flour instead of spelt flour, increase the amount of water used by ~1/4 cup.


Make the Ganache:

Melt 2 ounces of chocolate and the butter in the microwave until the chocolate is melted.  Blend the mixture together and set it aside.

Mixing and storing the dough:

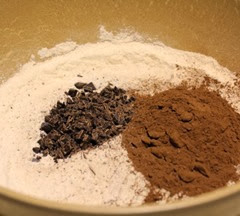
Whisk together the flour, yeast, salt, cocoa powder, and chopped chocolate in a large mixing bowl or other container.

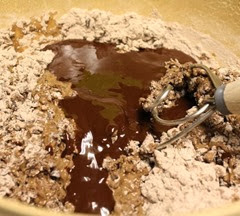
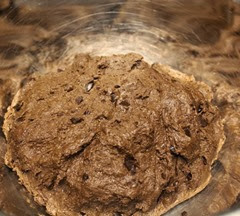
Mix the the water, eggs, and honey together.  Pour the mixture over the flour and mix using a wooden spoon or Danish dough whisk. Add the ganache and stir until it is thoroughly incorporated.  You may need to use your hands to incorporate the last bit of flour.

Cover the bowl or container and allow it to rest at room temperature until the dough rises and collapses, approximately 2 hours.

The dough can be used immediately after the initial rise, but it is easier to handle when cold. Refrigerate the container of dough and use over the next 5 days. Beyond the 5 days, freeze the dough in 1-pound (about 450 g) portions in airtight containers for up to 4 weeks. When using frozen dough, thaw in the refrigerator for 24 hours before using, then allow the usual rest and rise time.

chocolate-bread_101 chocolate-bread_104
chocolate-bread_105 chocolate-bread_106

On baking day

Generously grease an 8 ½ x 4 ½ - inch (22 x 11 ½ cm approx) nonstick loaf pan with butter, sprinkle some sugar evenly over the butter and shake the pan to distribute.  I used my Emile Henry Ceramic Baker.

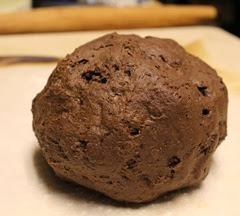
Take the dough out of the refrigerator. Shape the dough into a ball by stretching the surface of the dough around to the bottom on all sides, rotating the ball a quarter turn as you go. Let the boule rest for 90 minutes to warm up to room temperature.

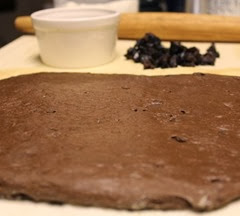
Using a rolling pin, roll out the dough into a ½ - inch-thick (scant 1 ½ cm) rectangle. As you roll out the dough, use enough flour to prevent it from sticking to the work surface but not so much as to make the dough dry.

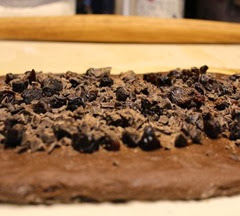
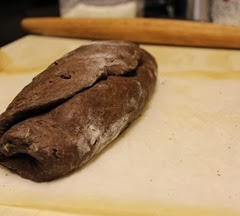
Sprinkle the chocolate and chopped prunes over the dough and roll up the dough jelly-roll style to enclose them. Fold the dough over itself several times, turning and pressing it down with the heel of your hand after each turn. This will work the chocolate and prunes into the dough; some may poke through.

chocolate-bread_109 chocolate-bread_110
chocolate-bread_113 chocolate-bread_114


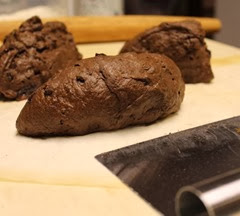
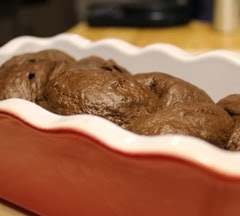
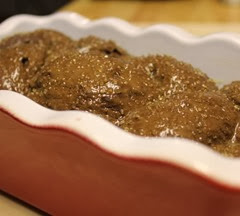
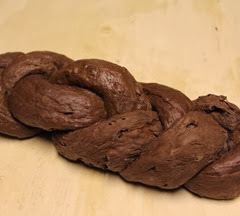
Instead of shaping a regular loaf, I decided to make a braided loaf. I divided the dough into three equal portions. Then I rolled each piece out into a log and braided a 3-strand braid. I tucked the ends underneath and placed the braid in the prepared ceramic baker to rise. Then I let it rise for 90 minutes, loosely covered with plastic wrap.

Preheat the oven to 350°F (180°C).

Using a pastry brush, paint the top of the loaf with egg wash and sprinkle with sugar.

chocolate-bread_115 chocolate-bread_116
chocolate-bread_117 chocolate-bread_119
chocolate-bread_404 chocolate-bread_406


Bake the loaf in the center of the oven for 50 to 60 minutes until firm. Smaller or larger loaves with require adjustments to baking time.

Remove the bread from the pan and allow to cool on a rack before slicing and eating.

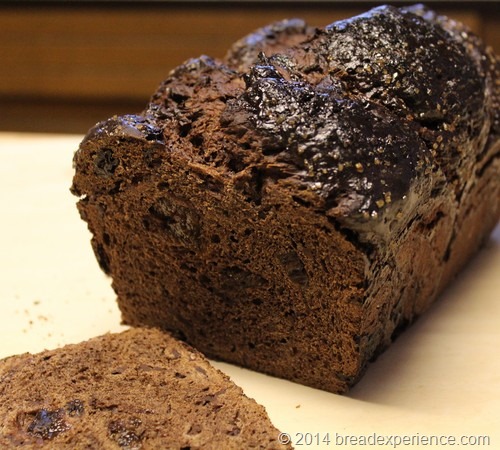
No Knead Chocolate Spelt & Prune Bread sliced


This No Knead Chocolate Spelt & Prune Bread tastes good, especially warm with butter and it makes great toast. It would make a decadent gift for Valentines Day or you can turn it into bread pudding for a different kind of treat.

Thanks to Jamie (Life’s a Feast) for choosing this delicious bread. I enjoyed being a Bread Baking Buddy.

BBB_Jan2014


Happy Baking!

Cathy
Monday 20 January 2014
Sourdough KAMUT Focaccia

Focaccia is a flatbread that’s always in fashion as far as I’m concerned. Whether it’s served as an appetizer or as a compliment to the main dish, or as the main dish, it’s such a fun bread to make and it utilizes the simplest of ingredients.

I’ve made several different types of focaccias over the years, but the most memorable ones were made using the long, slow fermentation process.

sourdough-kamut-focaccia_250


I made a sourdough focaccia by mistake a few months ago and it turned out really well so I decided that focaccia made with sourdough deserved another chance. I got that chance when the Sourdough Surprises Baking Group chose it as the sourdough challenge this month.

This bread is made completely by hand and does not contain any dried yeast. It uses wild yeast (aka sourdough starter) as the rising agent. The dough is made with KAMUT white flour, but since I haven’t created a KAMUT starter yet (it’s is on my list to do), I used my regular sourdough starter, which is made with all-purpose flour. 

It takes a couple of days from start-to-finish to make this flatbread but most of that time is spent activating the sourdough culture and after mixing the dough, letting it ferment in the refrigerator overnight.

The dough is 68% hydration so it’s a very wet dough. The overnight fermentation in the refrigerator makes it a little bit easier to work with, but you’ll probably still need some extra flour when you’re shaping it.

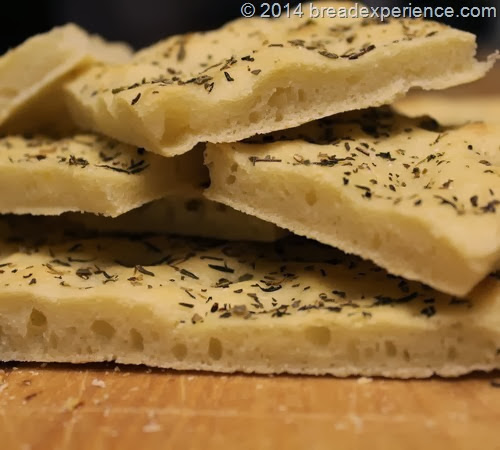
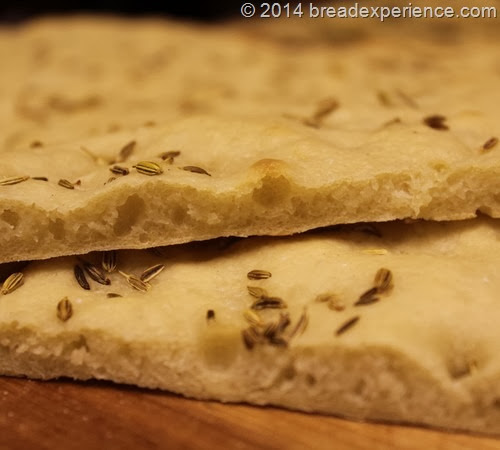
It can be spread out really thin like pizza dough or a bit thicker for a more bread-like texture. I spread mine out a bit thinner and it was crispy around the edges, but more bready toward the middle.  For the best results, spread it out evenly so you get a consistent texture.


Sourdough KAMUT Focaccia

Adapted from: Baking by Hand by Andy & Jackie King

Makes: 2 large or 3 medium Focaccias

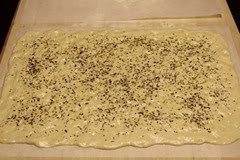
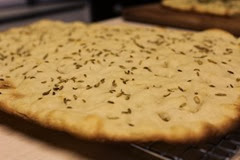
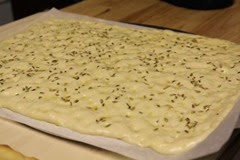
I opted to use simple toppings and let the dough take center stage. One focaccia is topped with sea salt and dried herbs from my garden. The second one (pictured below) is topped with sea salt and fennel seeds. I liked both breads.

sourdough-kamut-focaccia_270


Ingredients:

  • 12.40 oz. sourdough starter, 100% hydration, recently fed
  • 18.25 oz. KAMUT white flour
  • 13.25 oz. water, warm
  • 2.55 oz. extra-virgin olive oil
  • 2 tsp. fine sea salt


Day 1: Activate your Sourdough Culture

Refer to this post on how to activate a starter or feed your starter according to your feeding schedule.  Just make sure it’s 100% hydration.

Day 2: Mix the Dough

Combine the active sourdough starter, warm water, and olive oil in a large bowl. Mix with a wooden spoon to break up the starter. 

Place the flour on top of the liquid ingredients and mix by hand, using a rubber spatula or a Danish dough whisk for a minute or so until the dough becomes a shaggy mass. Scrape down the sides and bottom of the bowl frequently to make sure all of the flour is incorporated. There shouldn’t be any dry spots.

sourdough-kamut-focaccia_102 sourdough-kamut-focaccia_105


Bulk Fermentation:

Cover the dough with a towel and set it aside to rest in a warm place (80 degrees F.) for about 30 minutes.

Sprinkle the salt over the dough and grab the dough between your fingers and pull it up and stretch it.  Incorporate the salt into the dough by continuously pulling the dough up and turning the bowl around with your hands. The dough should start to develop somewhat after about a minute and you shouldn’t feel any of the salt crystals. The dough will still be really wet so resist the urge to add additional flour at this point.

Cover the bowl and put it back in a warm spot to rest for another 30 minutes.

After the 30-minute rest, transfer the dough to a lightly floured counter and perform the four-fold method, or do the fold-and-turn-in-the-bowl method. I opted to keep the wet and messy dough in the bowl for this part. Return the dough to the bowl and cover it again with a towel. 

At this point, you have the option of repeating the above process every 30 minutes for a total of four times. The, after the fourth fold, you’ll leave the dough in the bowl to rest for another hour to develop the dough before shaping.

Overnight Fermentation in Refrigerator:

Or, cover the bowl with plastic wrap and place it in the refrigerator to ferment overnight. This is the option I chose. My dough was still really wet so I scraped it into a clean bowl and placed it in the refrigerator.


Day 3: Shaping the Dough:

The next day, I removed the dough from the refrigerator and placed it in my proofing box to let it warm up a little bit before shaping.  I should’ve let it warm up to room temperature, but I was ready to get going.

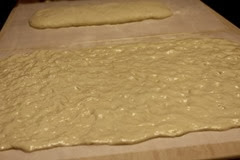
After it had warmed up about an hour, I divided the dough into two equal pieces and placed each piece on well-floured parchment paper.

sourdough-kamut-focaccia_108 sourdough-kamut-focaccia_110


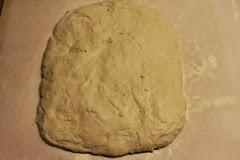
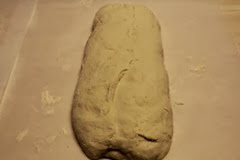
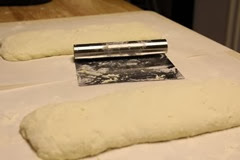
Then I shaped each piece into a rough rectangle and let them rest a few minutes. From there I shaped them into stubby batards being careful to keep the extra flour on the outside of the dough like you would for ciabatta.

Flip the batards over (seam side down), cover with a towel, and let them rest for about an hour.

sourdough-kamut-focaccia_111 sourdough-kamut-focaccia_112
sourdough-kamut-focaccia_114 sourdough-kamut-focaccia_116


Baking the Focaccias:

Meanwhile, preheat the oven to 450 degrees F. (for at least 45 minutes) with a baking stone on the bottom rack and a cast iron skillet on the top rack.

The dough will be relaxed and ready to top and bake when you can press your finger into the surface and the imprint holds.

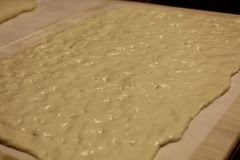
Pat one loaf out onto the parchment paper until it is almost completely flat (or until you run out of parchment paper). 

Using your fingertips, dimple the surface of the focaccia while stretching it out to form a rectangle. Adding extra olive oil helps spread it out.

Top one focaccia with the toppings of your choice.  As I mentioned, I topped one with sea salt and herbs and the other one with sea salt and fennel seeds.

Prepare the second focaccia while the first one is baking.

sourdough-kamut-focaccia_118 sourdough-kamut-focaccia_119
sourdough-kamut-focaccia_124 sourdough-kamut-focaccia_129


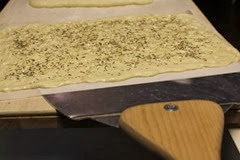
Get three ice cubes ready. Being careful not to burn yourself or to keep the oven door open too long, transfer the focaccia to the preheated baking stone using a pizza peel or the back of a baking sheet. Then, carefully throw the three ice cubes into the preheated cast iron skillet. Immediately close the door.

Bake the bread until the crust is golden-brown, about 25 minutes.  I took mine out a little bit sooner than 25 minutes because it was getting brown around the edges.

sourdough-kamut-focaccia_125 sourdough-kamut-focaccia_160


I really like the flavor of these focaccias. The sourdough was not tangy at all.

As usual, I enjoyed baking with the Sourdough Surprises Group.

Happy Baking!

Cathy