Sunday 30 September 2012

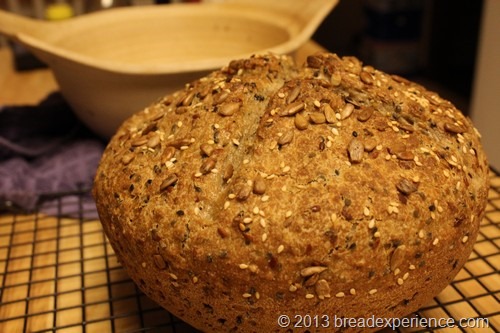
Multi-grain Sourdough Spelt in a Pot

The September BOM (Bread of the Month) is a Multi-grain Boule. Karen of Karen’s Kitchen Stories chose this bread for the Artisan Bread Bakers’ monthly bake.

This multi-grain loaf is baked in a bread baker, clay pot, Dutch oven or other round, casserole-type dish with a lid. It is a versatile loaf that includes a mixture of several grains and seeds and can be made with a sourdough starter or poolish. It is an easy loaf, you just need to allow time to feed your starter or make the overnight poolish the night before making this bread.

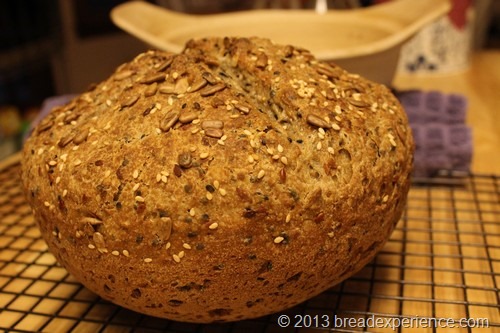
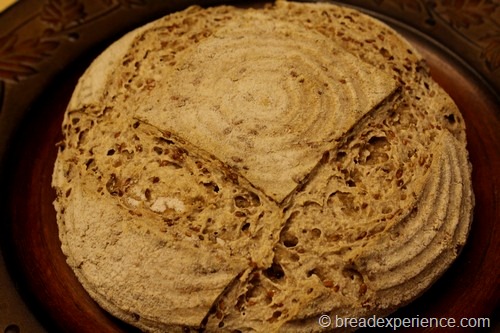
Multi Grain Boule with Spelt


To experiment with the versatility of this bread, I decided to make it completely with Spelt. I used a combination of White Spelt and home-milled whole grain Spelt flour and a Spelt sourdough starter. For the mixture of grains, I used black sesame seeds, spelt flakes, steel cut oats, and flax seeds. Since my sourdough is an active sourdough and I fed it right before making this bread, I didn’t use any extra dry yeast.


Multi-grain Sourdough Spelt in a Pot

Adapted from Karen’s recipe which was adapted from King Arthur Flour’s recipe

Makes: 1 Large Loaf

Ingredients:

Multigrain Soaker:

  • 1 cup boiling water
  • 5 ounces of a blend of whole grains and seeds

I used the following combination of seeds and grains:

  • 4 tablespoons Spelt flakes
  • 3 tablespoons steel cut oats
  • 3 1/2 tablespoons whole flax seeds
  • 3 tablespoons black sesame seeds

Final Dough:

  • 16 ounces sourdough starter (100% hydration)
  • 7 ounces whole grain Spelt flour
  • 7 1/2 ounces white Spelt flour
  • 2 1/2 teaspoons salt
  • 2 tablespoons olive oil
  • 2 tablespoons water
  • Seeds for topping the bread, if desired


Directions:

1) Feed the Starter

The night before making this bread, discard about half of this Whole Grain Spelt Levain, then feed it with 250g White Spelt flour and 250g water and let it sit overnight or until it is active and bubby. Use 16 oz of the starter in this recipe.  Put the remaining starter in the refrigerator or feed it again to increase, then place it in the refrigerator.


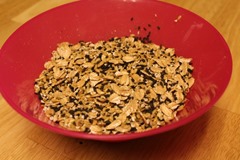
2) Soak the Grains

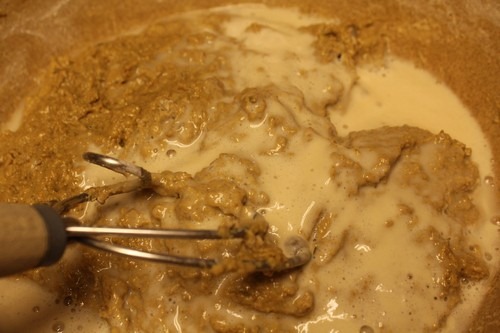
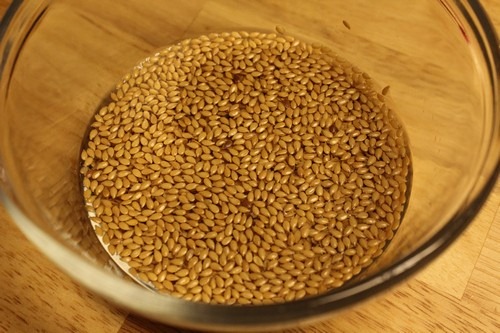
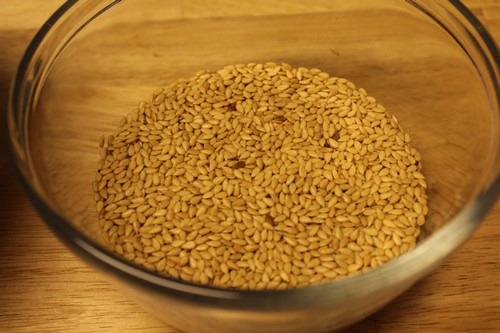
Place the 5 ounces of grains and seeds in a mixing bowl and cover them with the boiling water.  Let it sit until the grains are softened and the mixture cools.

multi-grain-boule-spelt02


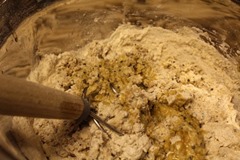
3) Mixing the Dough

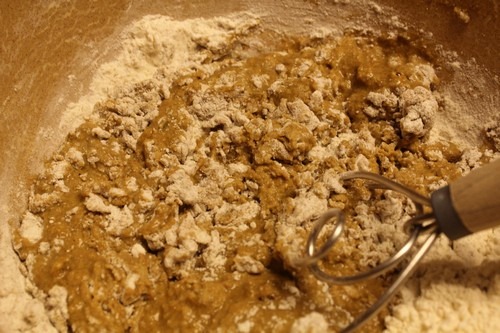
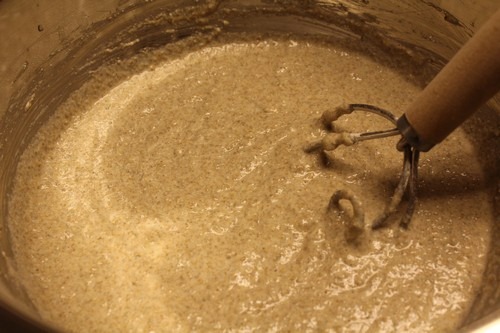
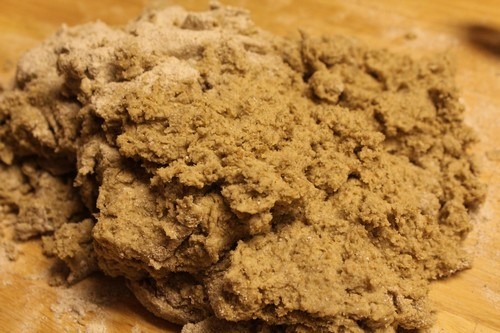
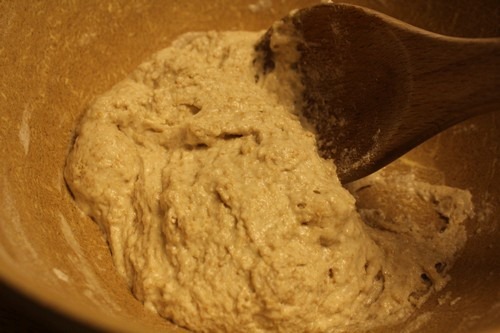
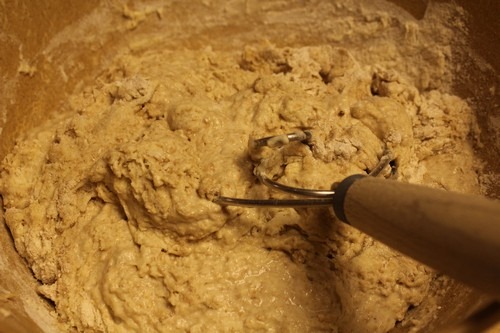
Add the softened grains and the rest of the ingredients (including the sourdough) in a large mixing bowl and mix using a wooden spoon or Danish dough whisk until the dough forms a ball.  You can use a stand mixer for this but it isn’t necessary.

multi-grain-boule-spelt04


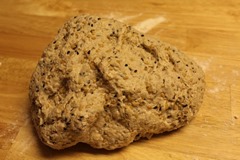
4) Kneading the Dough

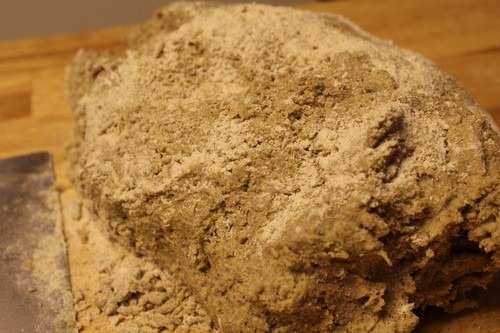
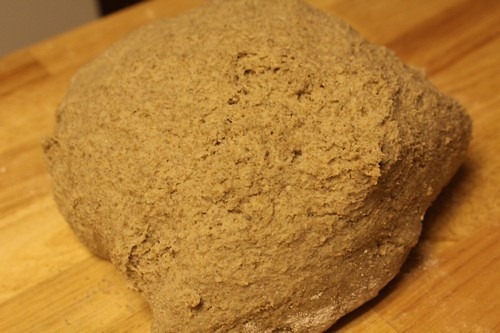
Place the dough on a lightly floured surface and knead it gently.  Spelt should be handled carefully so don’t knead it too much.  The dough will be smooth, not sticky. 

multi-grain-boule-spelt05


5) Bulk Fermentation:

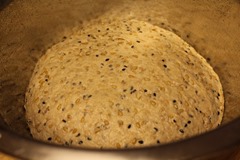
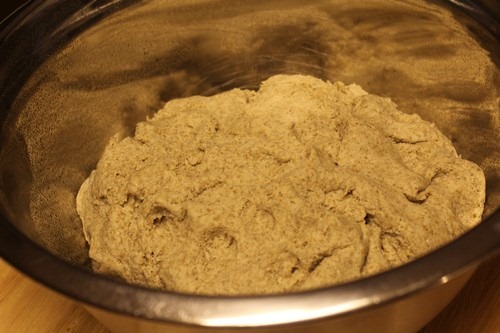
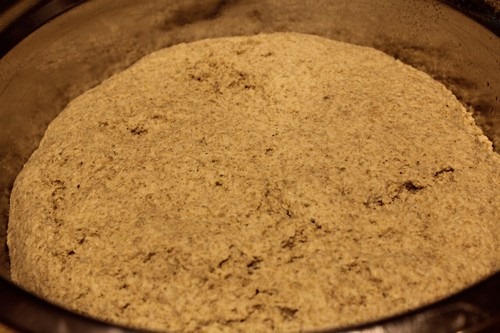
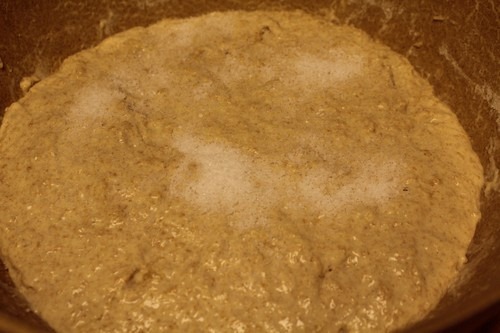
Wash and dry the mixing bowl, then spray it with spray oil and place the dough ball in bowl and turn it to coat it with oil. Cover the bowl with plastic and let the dough proof for 45 to 90 minutes or until doubled in size.

multi-grain-boule-spelt001


6) Shaping and Proofing the Loaf

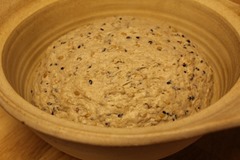
Remove the dough from the bowl and fold it a few times.  Shape it into a tight ball and place it in bread pot for the final rise.  I used this handmade bread pot.  It was the perfect size.  Lightly spray the top with spray oil and let it rise until puffy, about 60 to 90 minutes.

multi-grain-boule-spelt002


Preheat the oven to 450 degrees F for at least 30 minutes.


7) Scoring the Loaf

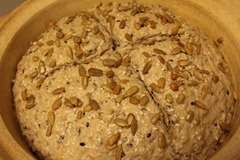
Once the loaf has risen sufficiently, spray it again with spray oil and sprinkle it with a mixture of seeds.  I used sunflower seeds and natural sesame seeds. Score an X or a pound sign in the top of the loaf using a sharp knife or lame.

multi-grain-boule-spelt0002


8) Baking the Loaf

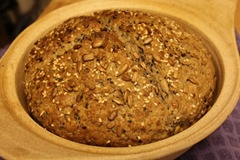
Place the bread pot or Dutch oven in the preheated oven with the lid on and bake the loaf for 40 minutes. Remove the lid and bake an additional 10 to 15 minutes with the lid off until the loaf reaches 190 degrees and is golden brown in color.

multi-grain-boule-spelt0003


9) Cooling the Loaf

Remove the loaf to a wire rack to cool completely before slicing and serving.

Multi Grain Boule with Spelt

This bread has been YeastSpotted. Please visit Wild Yeast to view the weekly roundups of lovely breads from bread bakers around the globe.


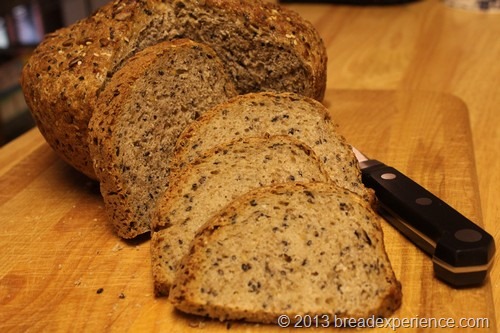
10) Slice and Enjoy!

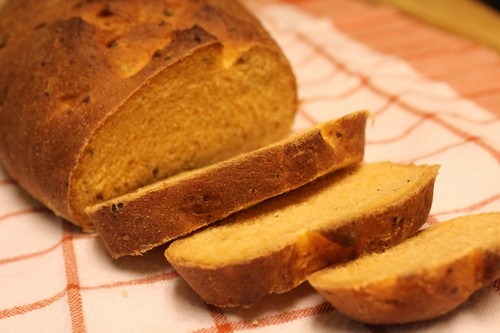
This bread makes great toast!  It’s also a good sandwich bread, especially with peanut butter and jelly or as a grilled cheese sandwich.

Sliced Multi Grain Boule with Spelt


Happy Baking!

Cathy
 

Sunday 23 September 2012

It started out as Molasses Fennel Rye Bread

The Bread Baking Babes and Friends (BBBs) have been making Molasses Fennel Rye Bread this month. This delicious bread is based on a recipe from Clark’s by the Bay near Kingston, Ontario.

Elizabeth of Blog from OUR Kitchen chose this bread as a reminder of days gone by. She visited Clark’s by the Bay awhile back and related such a neat story that I really wanted to try this bread. Refer to Elizabeth’s post if you want to make the original version of this bread. If you want to try a twist on a theme, then read on…

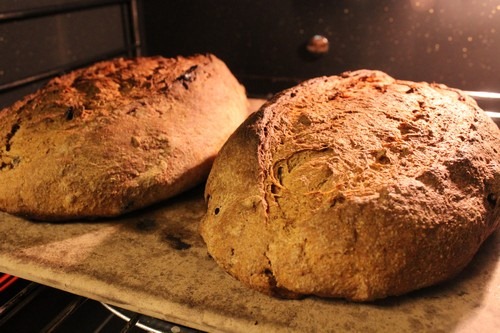
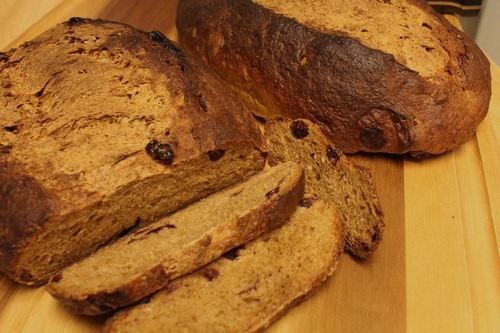
I set out to make the Molasses Fennel Rye Bread like the other good BBBs; however, mine quickly took on a life of it’s own. I didn’t have any raisins so I used dried cranberries, and I only had 1/4 cup of wheat germ so I supplemented with some rye flakes. I also ended up adding a good bit more flour than the original version called for.

 rye-fennel-bread06


My version is called Rye Fennel Molasses Cranberry Bread.  It’s not too sweet, and has just a hint of fennel flavor.  It is a delicious toast bread. It reminds me of Swedish Limpa Rye Bread although it doesn’t include any orange peel and it has fennel seeds instead of anise and caraway seeds.


Rye Fennel Molasses Cranberry Bread

Makes: 2 large Batard-shaped Loaves (or 2 round loaves if you prefer)

Adapted from: Molasses Fennel Rye Bread from Memory Lane by Elizabeth

Based on Jack Francis’ recipe for Molasses-Fennel Bread served at “Clark’s by the Bay” restaurant in Collins Bay, Ontario (near Kingston) – now closed

Ingredients:

  • 1 1/2 teaspoons active dry yeast
  • 1/4 cup lukewarm water
  • 4 teaspoons sugar
  • 4 tablespoons molasses
  • 1 3/4 cup water, room temperature
  • 1 tablespoon fennel seeds
  • 1/2 teaspoon ground dried ginger
  • 1 cup rye flour
  • 1 cup whole wheat flour
  • 3 tablespoons rye flakes
  • 1/4 cup wheat germ
  • 3 cups unbleached all-purpose flour
  • 2 teaspoons salt
  • 1/4 cup dried cranberries
  • 1/2 to 1 cup unbleached all-purpose flour for kneading.  It’s a pretty slack dough so you might need more flour.


Directions:

1) Mixing the Dough

In a small bowl, whisk together yeast and lukewarm water. Set aside until it’s foamy, about 10 minutes or so.

In a large bowl, pour in the rest of the water and stir in sugar and molasses. Add fennel seeds and ground ginger. Add the flours, wheat germ, rye flakes and salt and stir with a wooden spoon until the flour is mostly absorbed.

rye-fennel-bread001


Add the yeast mixture and stir to form a rough dough. Cover the bowl with plastic wrap and let sit on the counter for about 20 minutes.

rye-fennel-bread002


2) Kneading the Dough

Scatter a little of the flour for kneading onto a wooden board. Turn the dough out onto the board. Wash and dry the mixing bowl.

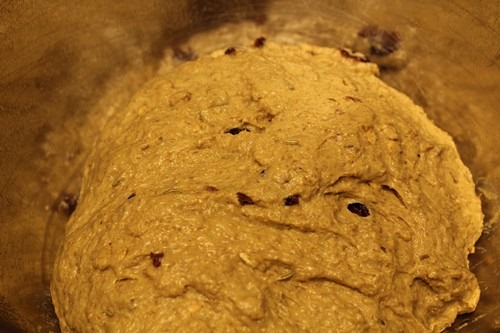
Hand knead the dough 10 to 15 minutes, adding the smallest amounts of additional flour if dough is sticky. You don’t have to use up all the flour. When the dough is springy and silky to the touch, knead in cranberries.


3) Bulk Fermentation

Form the dough into a ball and put it in the clean, oiled bowl and cover it with plastic wrap.

rye-fennel-bread008


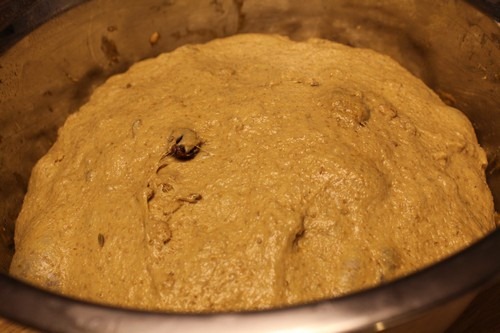
Let the dough rise in a no-draft place at room temperature (or in the oven with the light turned on) for about an hour or until it has doubled in size. Gently deflate dough. Recover with the plastic wrap and allow to rise until doubled again.

rye-fennel-bread010


4) Shaping the Dough

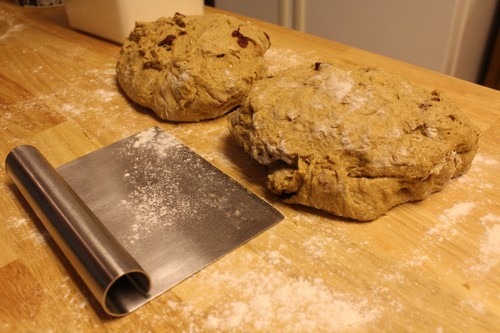
Gently turn the dough out onto a lightly floured board; cut it in half with a dough scraper if you have one, or with a knife if you don’t.

rye-fennel-bread011


5) Proofing the Loaves

Shape into two batards and place them (not touching) on a baking sheet covered with parchment papered or a cornmeal dusted peel. Dust the tops with flour or spray with oil. Cover with plastic wrap and let rise until double in size, about an hour or so.

Refer to the 66 Percent Sourdough Rye Bread post for step-by-step instructions on shaking Batard loaves.

rye-fennel-bread015


6) Scoring the Loaves

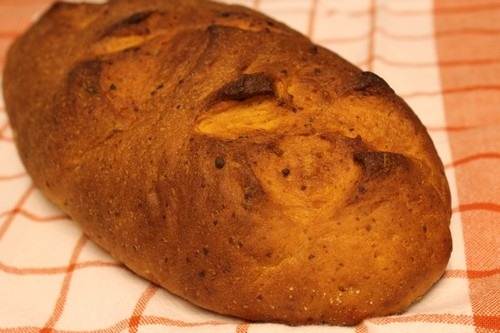
Preheat the oven to 400F. with a baking stone on the middle rack. This bread really doesn’t need a baking stone. I burned my loaves a little bit so next time I will probably not use a baking stone to bake these loaves.

Score the loaves down the middle using a sharp knife, serrated knife, or lame.

rye-fennel-bread018


7) Baking the Loaves

Spray the tops of the loaves with water. Load the loaves onto the baking stone (on the parchment paper) and immediately turn the oven down to 350F. Bake the loaves on the middle rack for 30-35 minutes until the bread reaches an internal temperature of 205-210F or until it is hollow sounding on the bottom. It’s a good idea to turn the bread about half way through baking to allow for uneven heat in the oven (remove parchment paper at the same time).

rye-fennel-bread019


8) Cooling the Loaves

Remove the loaves to cool on racks. Brush the tops of the loaves with melted butter, if desired. It’s best to wait until the bread is cool before cutting it. If you like to eat warm bread, reheat the bread after it has cooled.

rye-fennel-bread029


9) Slice and Enjoy!

Even with all of the substitutions, this bread turned out fabulous (except for being a little burnt around the edges). Oops!  I just sliced off the burned part and enjoyed it warm with butter. This bread is so good, its addictive.  One slice is not enough! So go on, have another piece…

rye-fennel-bread5


Happy Baking!

Cathy


BBBuddiesSeptember2012

Tuesday 18 September 2012

Farewell to Summer with Tomato Basil Bread

Autumn is just around the corner. If you’re ready to bid farewell to hot, dry weather, but still want to remember the delicious flavors from your garden, try this Tomato Basil Bread. It is an easy and tasty bread, made with tomato paste, fresh herbs, Parmesan cheese and red pepper flakes. It goes really well with cheese and pasta dishes.

tomato-basil-bread11


I was waiting for a special occasion to make this bread. The changing of the seasons provided the perfect opportunity. I enjoyed a milder version of this bread, but if you like more heat, you can increase the amount of red pepper flakes to your heart’s desire.

tomato-basil-bread20


Check out my post on Culinary.net to learn more about this bread. You’ll like this one!


Happy Baking!

Cathy
Friday 14 September 2012

Sourdough Rye and Rice Bread

A few weeks ago, a visitor to my blog mentioned that she was experimenting with a sourdough sponge made with spelt & rye and mixing it with various gluten-free flours. She was looking for recipes for breads that used a mixture of gluten-free and gluten flours. I thought this was a very interesting experiment.

My brain started clicking away and the more I thought about it, the more I realized that this was a really good idea. So when I ran across this recipe in one of my books about grains, you know I had to try it.

The funny thing about the original version of this recipe is that it listed “wheatless” in the title, but it is made with a regular sourdough starter. I’m not sure why they called it wheatless since it uses a sourdough made from all-purpose white flour, but I decided my version would be wheatless. My version is made with a rye starter and includes rye flour, rice flour and a little bit of oat flour. It has a really good flavor. I poured off the hooch when I fed my rye starter so this bread is not sour at all. 

rye-rice-bread21


Rye looks like an extra tall wheat plant, but it is from the genus Secale cereale. It is a cool season crop.

Note: Although this bread doesn’t contain any wheat, it does contain gluten.  Rye has a different type of gluten, called gliaden.  Breads made with rye and no wheat can become gummy because the gluten structure doesn’t develop very well. This is where the sourdough starter comes in, it actually helps dissolve the gumminess.

This bread also includes a good bit of active dry yeast to get the activity going.  The dough rose really well during the proofing with the added yeast; however, I’d like to see how will do without the added yeast.


Sourdough Rye and rice Bread

Makes: 1 Large Loaf and 1 Small Loaf or 1 Pullman Loaf

Adapted from: Small-Scale Grain Raising: An Organic Guide to Growing, Processing, and Using Nutritious Whole Grains for Home Gardeners and Local Farmers by Gene Logsdon

Ingredients:

  • 1 cup rye sourdough starter
  • 1 1/2 cups water
  • 2 cups rye flour (I used home-milled whole grain rye flour)
  • 1 tablespoon molasses
  • 1/2 cup lukewarm water
  • 3 teaspoons dry yeast
  • 2 tablespoons oil
  • 2 teaspoons salt
  • 4 cups organic rice flour
  • 2 cups rye flour
  • 2 – 3 tablespoons oat flour (I used organic oat flour from the Farmer’s Market, but you can make your own flour by coarsely grinding oatmeal in the blender)


Directions:

1) Feed the Rye Starter

The day before you plan to make this bread, feed your rye sourdough. I doubled my starter so I would have enough to use in this recipe.

2) Make the Sponge

The night before you plan to make this bread, mix together the rye starter (or regular starter if you prefer), rye flour and water. Set this aside overnight in a warm, draft-free place.  The oven (turned off) is a good place for this.

brotform-measurements001


3) Mixing the Final Dough

The next day, dissolve the molasses in the lukewarm water and sprinkle the yeast over the surface.  Set the mixture aside for 5 minutes until it is creamy.

brotform-measurements003


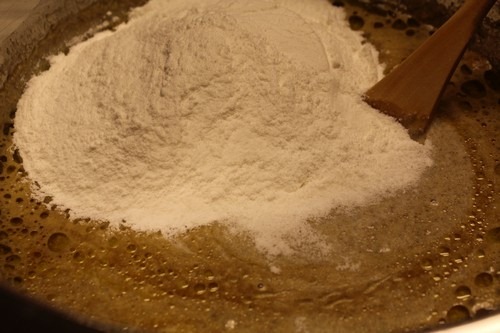
Stir the sponge down, then add the oil, salt, yeast mixture, and all of the rice flour.

brotform-measurements004


Mix in as much rye flour as you can by hand, then transfer the dough to a working surface that is well floured with rye flour.

brotform-measurements005


Add the remaining rye flour and knead briefly to incorporate it thoroughly.  Finish by adding a couple of tablespoons of oat flour to help reduce the stickiness.

brotform-measurements007


brotform-measurements009


4) Bulk Fermentation

Place the dough in an oiled bowl and turn it to coat in oil.  Cover and place it in a warm place.  Let it rise until double in bulk. 

brotform-measurements013


This can take anywhere from an hour to a couple of hours. I turned the dough in bowl after about an hour, then placed it back in the bowl to rise for another hour or so.

rye-rice-bread02


5) Shaping and Proofing the Loaf

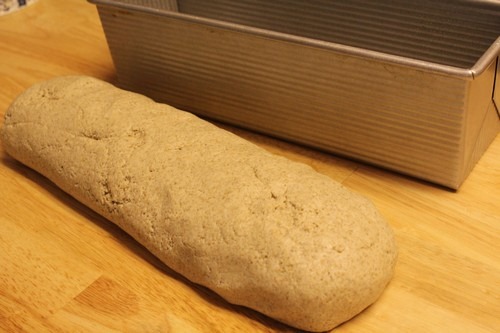
You can shape the dough into a large loaf and a small loaf, but I chose to make a Pullman loaf.  To make a Pullman loaf, remove the dough from the bowl and shape it into a cylinder.

 rye-rice-bread05


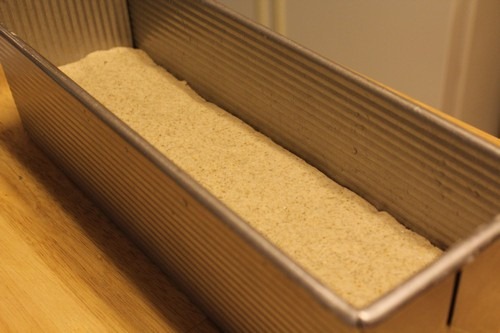
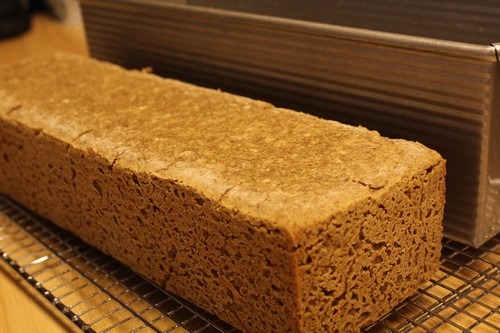
Place the loaf in the greased Pullman pan.  This was rather tricky.  The log lost it’s shape as I transferred it to the pan so I just patted it gently in the pan to make it even. 

rye-rice-bread07


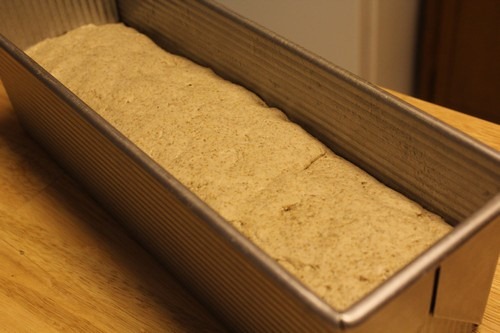
Let it rise for another 1 1/2 to 2 hours until it rises well in the pan. It may not double in size.

rye-rice-bread11


6) Baking the Loaf

Preheat the oven to 375 degrees F.  Bake for 35 minutes or until done.  Make sure the loaf is baked through or it might turn out gummy.


7) Cooling the Loaf

Remove the loaf to a cooling rack to cool completely before serving.

rye-rice-bread19


8) Slice and enjoy!

Rye breads are usually better the day after they are baked because it gives the crumb time to set. I decided to try it a couple of hours after baking and then again the next day.

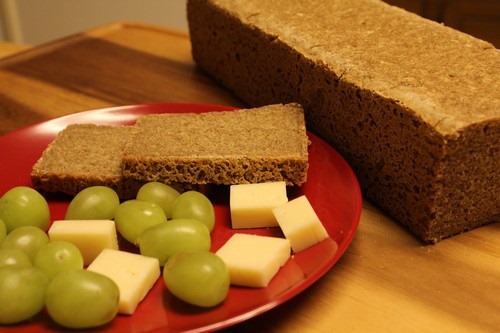
This was my dinner the night I baked the loaf.  It was really good, especially with the cheese and grapes.

rye-rice-bread0017


This is the bread the next day.  The crumb is set well, but it is still moist and tastes fresh.  This bread has good keeping quality due to the rye and sourdough.

rye-rice-bread1

Celeste, this one’s for you!  Enjoy!


Happy Baking!

Cathy
Friday 7 September 2012
100% Spelt Sourdough with Flax Seed Soaker

I really enjoy working with Spelt because it’s very versatile and healthy.  So when I saw this lovely Sourdough Spelt Bread on Chews Wise, I knew I had to try it.

His version is beautiful, made with organic white bread flour and organic Spelt flour. I wanted a 100% Spelt loaf so I used a combination of whole grain and white Spelt bread flour. I also used a 100% hydration levain instead of a stiff levain.

Spelt is a fascinating grain. It’s not a modern grain; therefore, it does not perform in the same manner as modern wheat. Spelt absorbs water really well, but at the same time, it needs to be handled gently and not over mixed in order to develop the gluten. I’m still getting the hang of working with Spelt, but I’m having fun in the process.

My version turned out to be very interesting-looking due to the light color of the flour and the texture created by the flax seeds. I wasn’t sure how it would taste, but I really enjoyed the complex flavors in this sourdough bread. It reminds me of rye sourdough, however, it doesn’t contain any rye flour.

sourdough-spelt-flaxseed0014


Sourdough Spelt Loaf with Flax Seeds

Adapted from: This Organic Loaf: Sourdough Spelt with Flax Seeds by Samuel Fromatz at Chews Wise

Ingredients:

Sourdough:

  • 70 grams Spelt starter (100% hydration) 
  • 70 grams water
  • 60 grams White Spelt Bread Flour (I used Vita Spelt)
  • 60 grams Whole Grain Spelt Flour (I used home-milled flour)

Flax Seed Soaker:

  • 85 grams (1/2 cup) flax seeds
  • 80 grams water (to cover the seeds)

Final Dough:

  • 250 grams sourdough (all of the above)
  • Flax seed soaker
  • 280 grams White Spelt Flour
  • 280 grams Whole Grain Spelt Flour
  • 400 grams (~ 1 2/3 cup) water
  • 12 grams Kosher salt


Directions:

1) Feed the Starter

The day before making this bread, discard about 2/3 of this Whole Grain Spelt Levain, then feed it with 125g White Spelt flour and 125g water and let it sit for 2 to 4 hours before beginning this recipe. Use 70g in this recipe.

2) Make the Sourdough

The night before you plan to make this bread, mix together the sourdough and let it sit overnight (8 – 12 hours), at room temperature (about 75 degrees F.)

Sourdough-Spelt-Flaxseed001


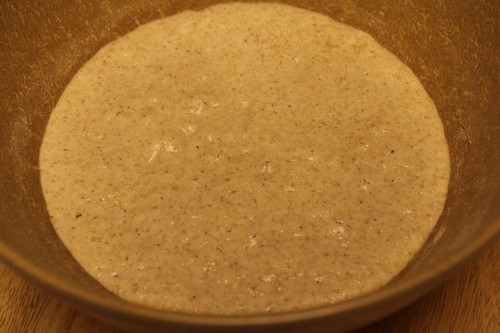
The sourdough should have risen fully and just starting to deflate by the morning.

Sourdough-Spelt-Flaxseed005


3) Flax seed soaker

Place the flax seeds in a separate bowl and just barely cover them with water. 

Sourdough-Spelt-Flaxseed002


Cover the bowl and let the flax seeds sit overnight at room temperature. I added more water than the original recipe indicated. The seeds soaked it up completely.

Sourdough-Spelt-Flaxseed007


4) Mixing the Dough

The next day, mix together the sourdough and water with a wooden spoon, dough whisk or a spatula until combined.  You don’t need a stand mixer for this recipe although you can use one if you prefer.  Just be sure not to over mix.

Add the flours and mix until the lumps are gone and the flour is fully hydrated. Cover the bowl and let the mixture rest for 20 minutes.

Sourdough-Spelt-Flaxseed008


Add the salt and mix until it is thoroughly incorporated and the dough starts to take on a smooth texture. This will take about 5 minutes by hand. You may need to wet your hands and reach in the bowl to make sure the salt is evenly distributed.

Sourdough-Spelt-Flaxseed011


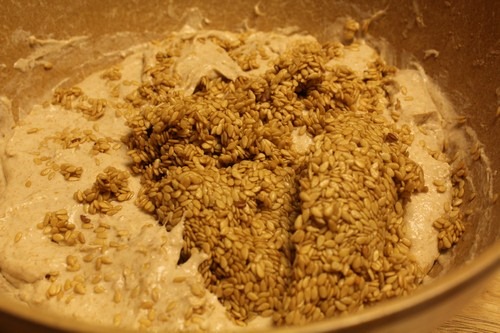
Add the flax seed soaker and continue mixing until the seeds are evenly distributed.

Sourdough-Spelt-Flaxseed012


5) Bulk Fermentation

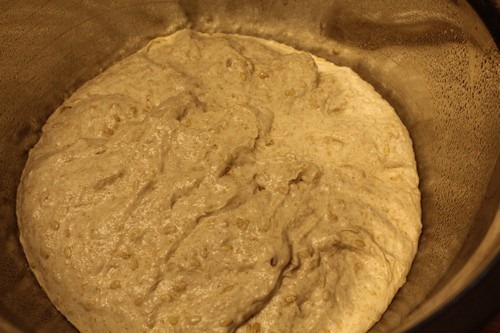
Place the dough in a clean, oiled bowl and cover it with plastic wrap.  Let it rise for 2 1/2 – 3 hours at room temperature (about 75 degrees F.) Fold the dough twice at 50 minute intervals. I did the fold-and-turn method in the bowl, but you can remove the dough to a counter to fold it, just be sure not to tear it.

Sourdough-Spelt-Flaxseed014


6) Shaping and Final Proof

Turn the dough out onto a floured surface and divide it into two pieces using a bench scraper.  Form the pieces into rough rounds and let them rest on the counter for 15 to 20 minutes.

Sourdough-Spelt-Flaxseed018


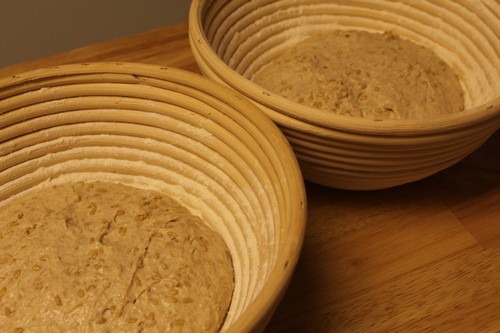
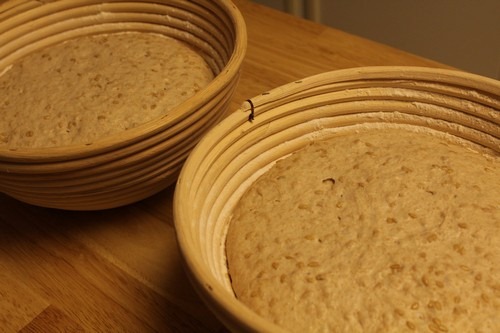
Shape them into tighter rounds and place them seam-side up in floured banneton baskets. You can make your own proofing basket by placing a floured towel in a bowl and then putting the loaves inside. Cover the baskets with a towel or plastic wrap and let them proof at 75 degrees F. until they have doubled in size. This could take anywhere from 90 minutes to 2 1/2 hours.

Sourdough-Spelt-Flaxseed019

At this point, you can proof the loaves at room temperature, then bake them. Or to enhance the sourdough flavor, you can retard them overnight in the refrigerator. If you retard them in the refrigerator, cover them tightly with plastic wrap so the outside of the dough doesn’t get hard.


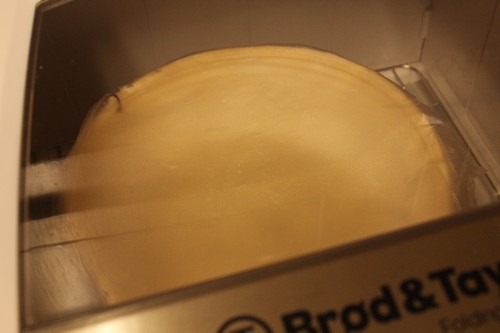
To proof my loaves, I placed one basket in my new proofing box and set it to 75 degrees F. I placed the other loaf in the oven with the light off.

Sourdough-Spelt-Flaxseed023


My loaves were rising really slowly so I turned the proofer up to 80 degrees F. and turned the light on in my oven.  They finally doubled in size.

Sourdough-Spelt-Flaxseed024


7) Prepare the Oven for Hearth Baking

Preheat the oven for an hour at 475 degrees F. with a baking stone on the middle rack and a steam pan on the lowest rack. 


8) Scoring the Loaves

When the loaves have risen sufficiently, turn them onto a baking sheet lined with parchment paper that has been sprinkled with cornmeal.

The loaf that I had proofed in the proofing box, came out of the basket very easily, and I baked it with no problem. However, the loaf that had been proofed in the oven with the light on stuck to the basket, and I was unable to remove it without completely destroying it. So, I grabbed the wad of dough and reshaped it.  Then I let it rest on the counter for 30 minutes before placing it in the refrigerator overnight. The next day, I let the 2nd loaf warm up to room temperature and then scored and baked it following the process below.

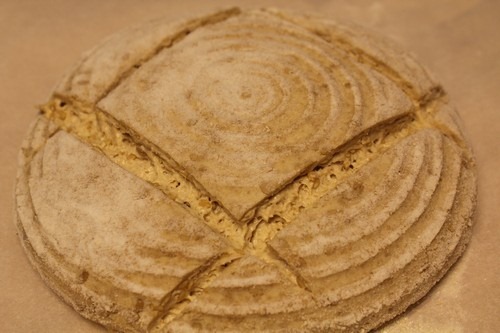
Sourdough-Spelt-Flaxseed028


Score round loaves in a square pattern using a serrated knife or lame. If you make Batards instead of round loaves, you can score them down the middle.

sourdough-spelt-flaxseed04


9) Baking the Loaves

Once the oven is preheated, slide the loaves (on the parchment paper) directly onto the baking stone and pour 1 cup of water in the steam pan. After 30 seconds, open the door, spray the walls with water, and close the door. Repeat twice more at 30-second intervals. Immediately turn the oven down to 450 degrees F. and close the oven door.

Bake the bread for 25 to 35 minutes. Check the loaves during the bake and rotate them 180 degrees for even baking if necessary. Continue baking until the loaves are brown and sound hollow when tapped on the bottom.  This bread is light colored so I didn’t want to burn it.  I turned the oven off after 30 minutes and let the loaves sit for 5 minutes to ensure they were baked through.


10) Cooling the Loaves

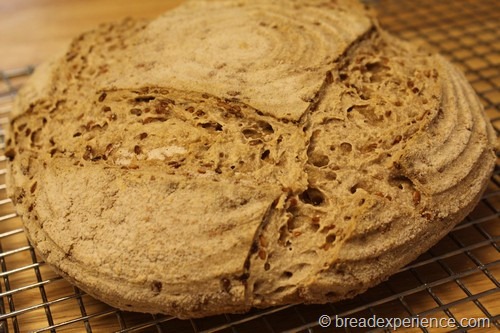
Remove the loaves to a wire rack and cool for at least an hour before slicing and serving. 

sourdough-spelt-flaxseed0001


11) Slice and Enjoy!

I waited 24 hours before slicing this bread.  It was worth the wait.  The flavor is wonderful!  My taste tester really liked this bread, especially dipped in olive oil and sprinkled with a hazelnut spice blend.

sourdough-spelt-flaxseed00011

This bread has been YeastSpotted. Please visit Wild Yeast to view the weekly roundups of lovely breads from bread bakers around the globe.


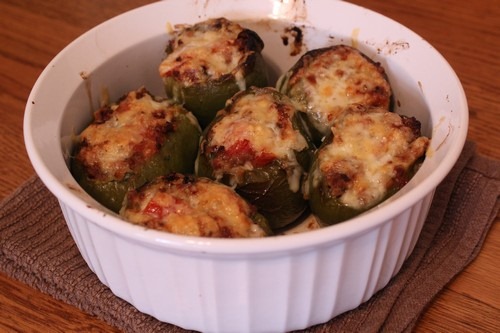
The Spelt Sourdough bread tasted great with these stuffed bell peppers. Yum!

stuffed-peppers08


Happy Baking!

Cathy